 GrowIQ
Getting started with GrowIQ
About 15 minutes to set up, then a few minutes a day. Part 1 is done once; Parts 2 and 3 are what you'll use every week. Screenshots show a demo workspace with sample data.
Part 1 · Set up (about 15 minutes)
Do these once, in order. You can stop at any point: GrowIQ remembers where you left off and Home shows a Continue setup button.
Step 1
Create your account
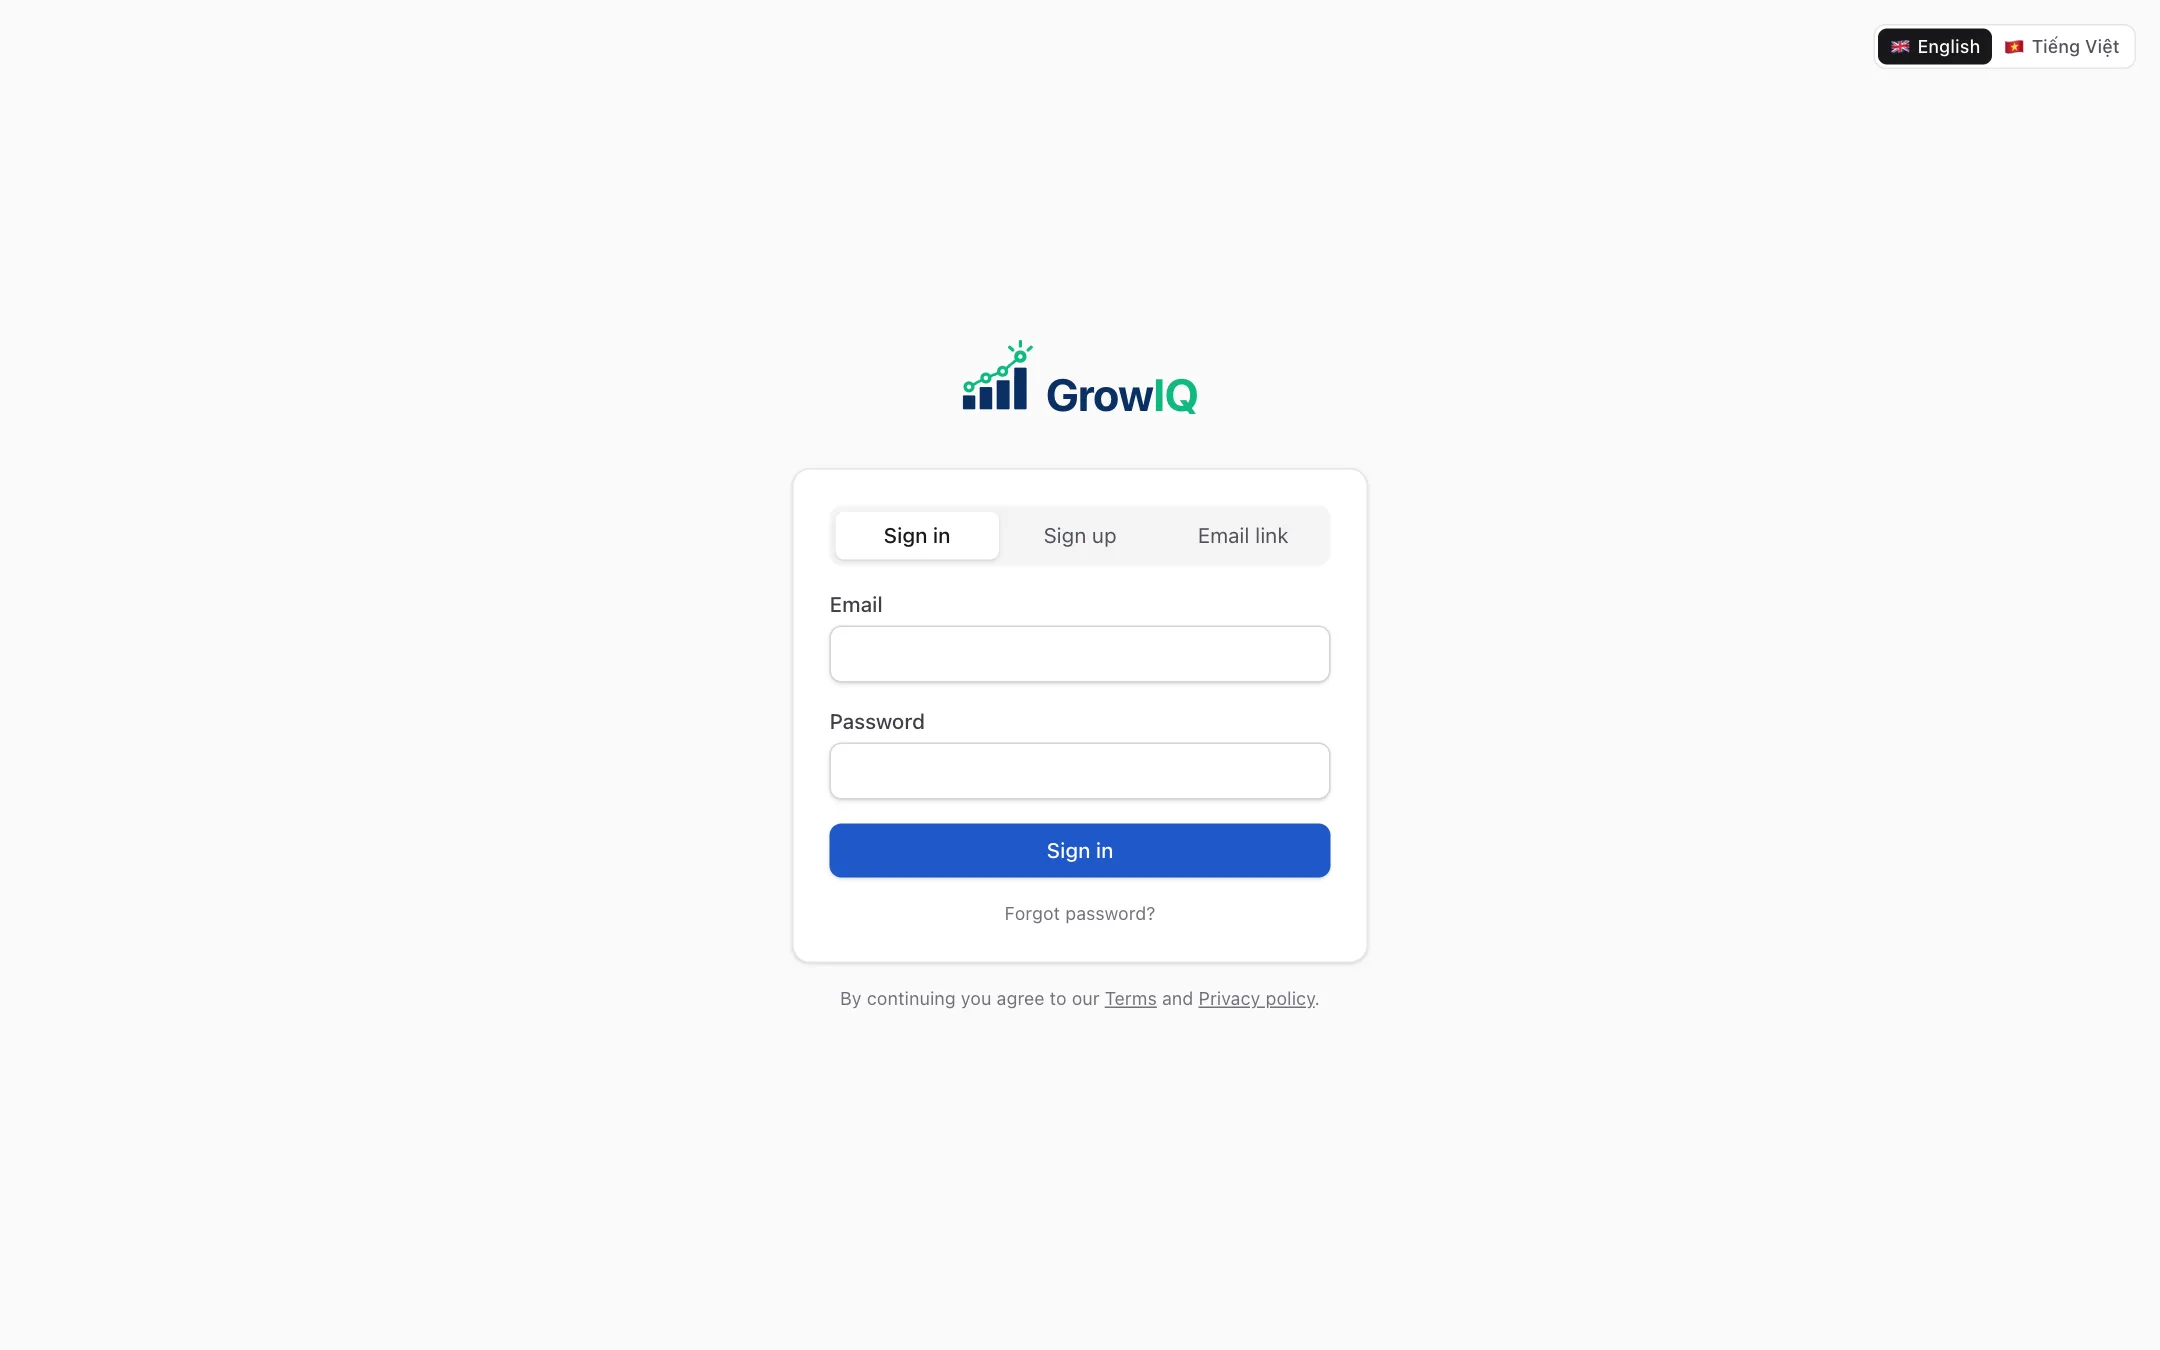
Go to growiq.me and sign in with your work email, or create an account. Use the 🇬🇧 / 🇻🇳 buttons at the top to read GrowIQ in English or Vietnamese; your choice is saved to your account.
Were you invited?
Open the link in the invitation email and sign in with the same address it was sent to. An invite only works for that address.
Step 2
Create your workspace
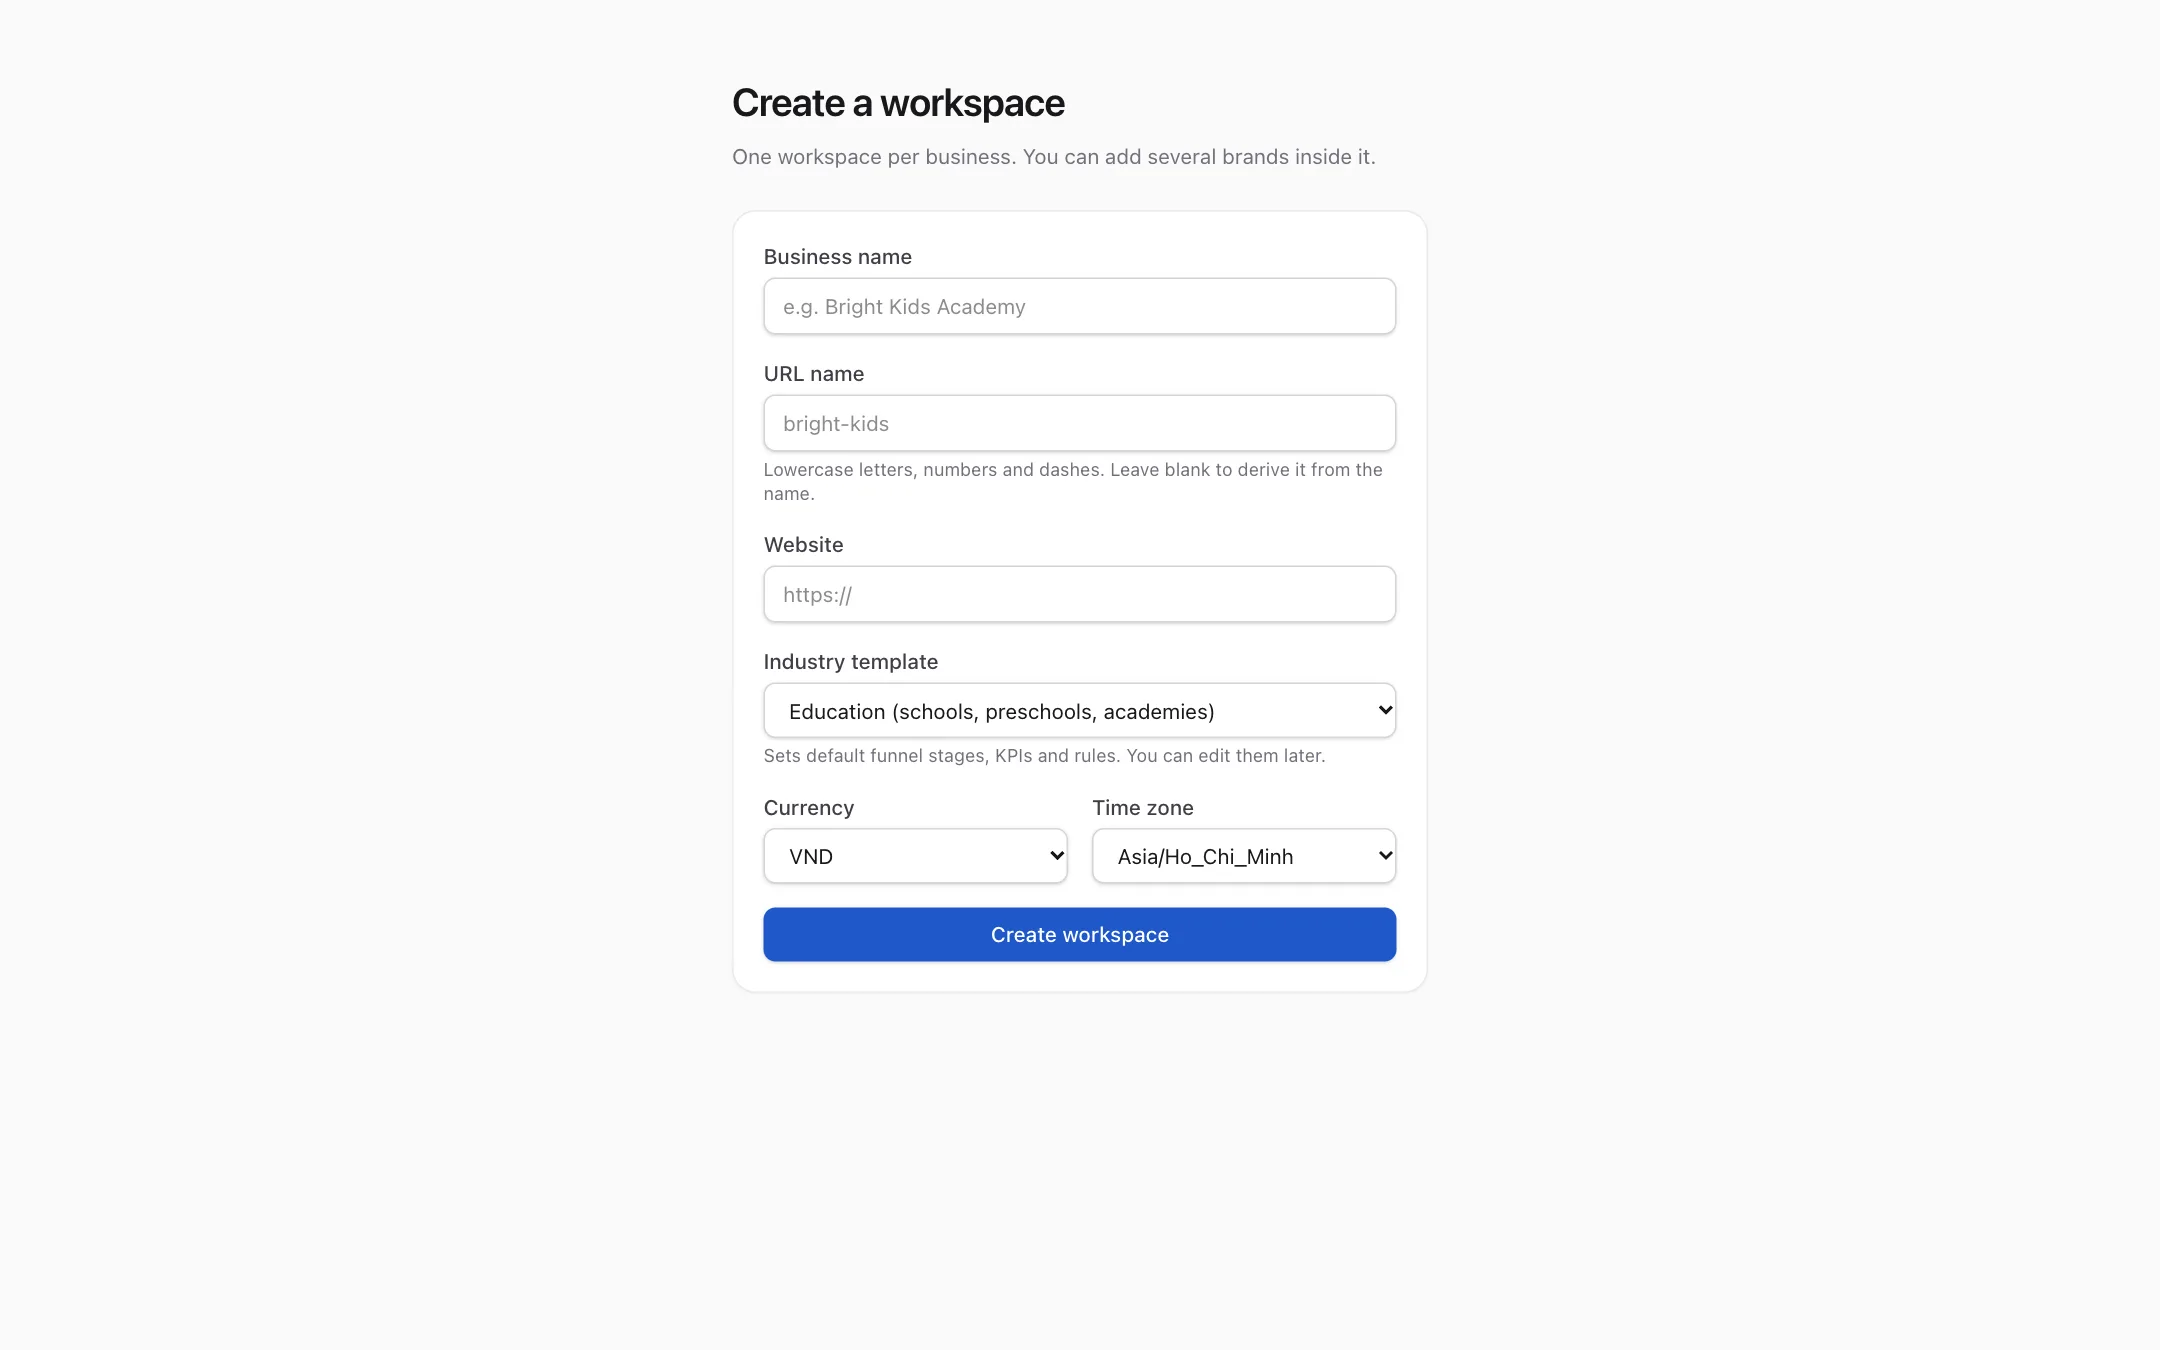
One workspace per business. Enter the business name and website, pick the industry template, your currency and time zone, then Create workspace.
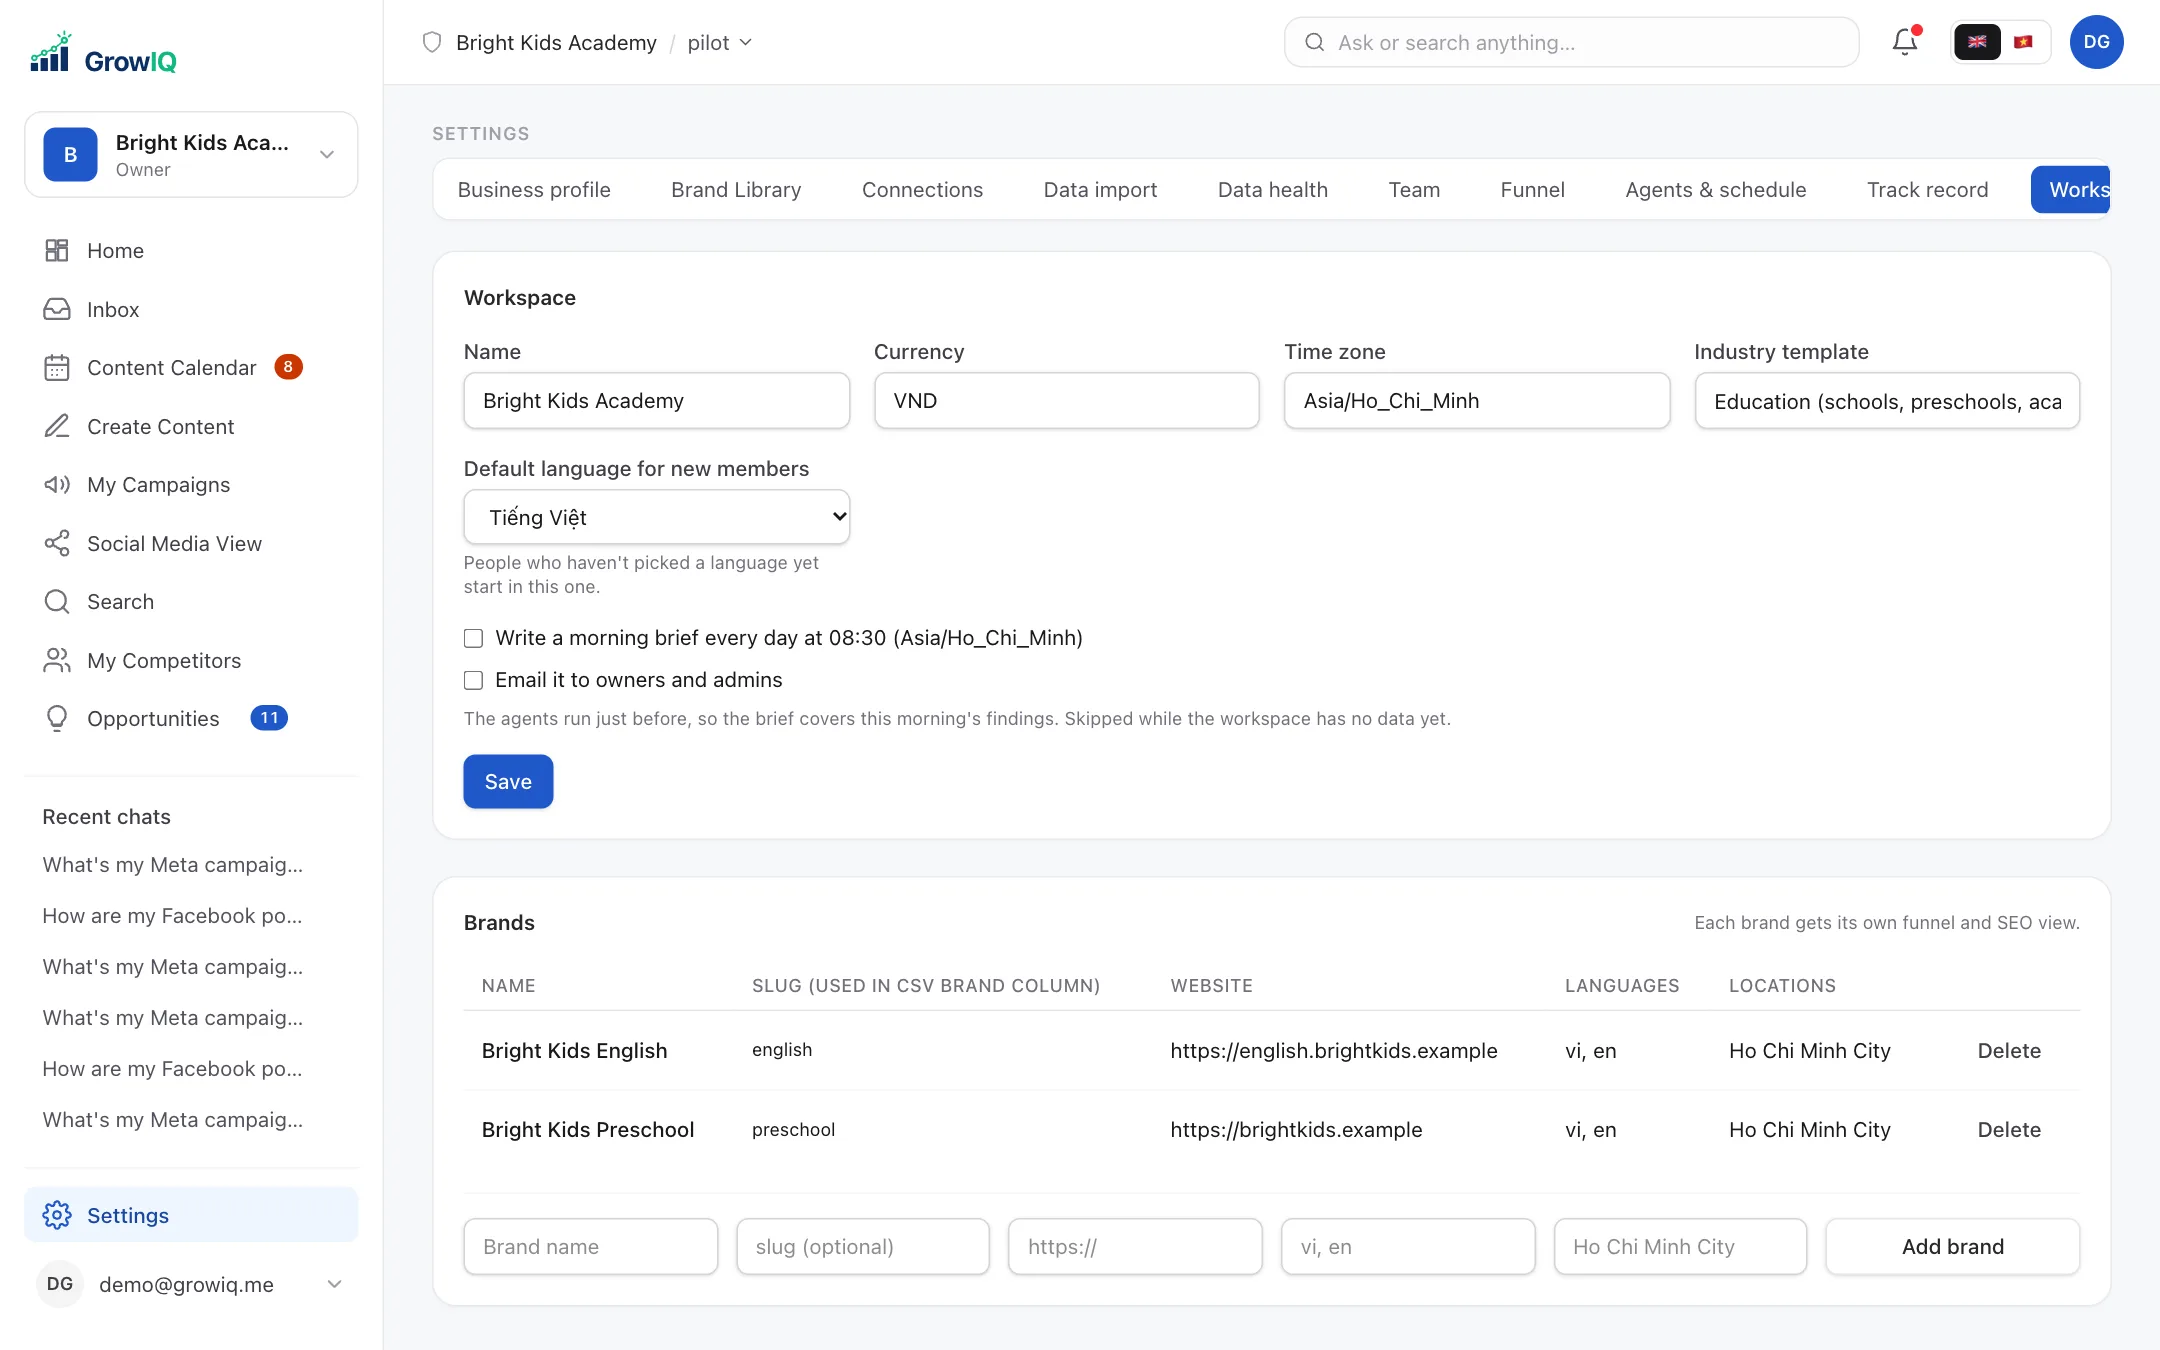
Workspaces in Vietnam (Ho Chi Minh City time zone) start new members in Vietnamese. You can change this later in Settings → Workspace.
Step 3
Let GrowIQ learn your business
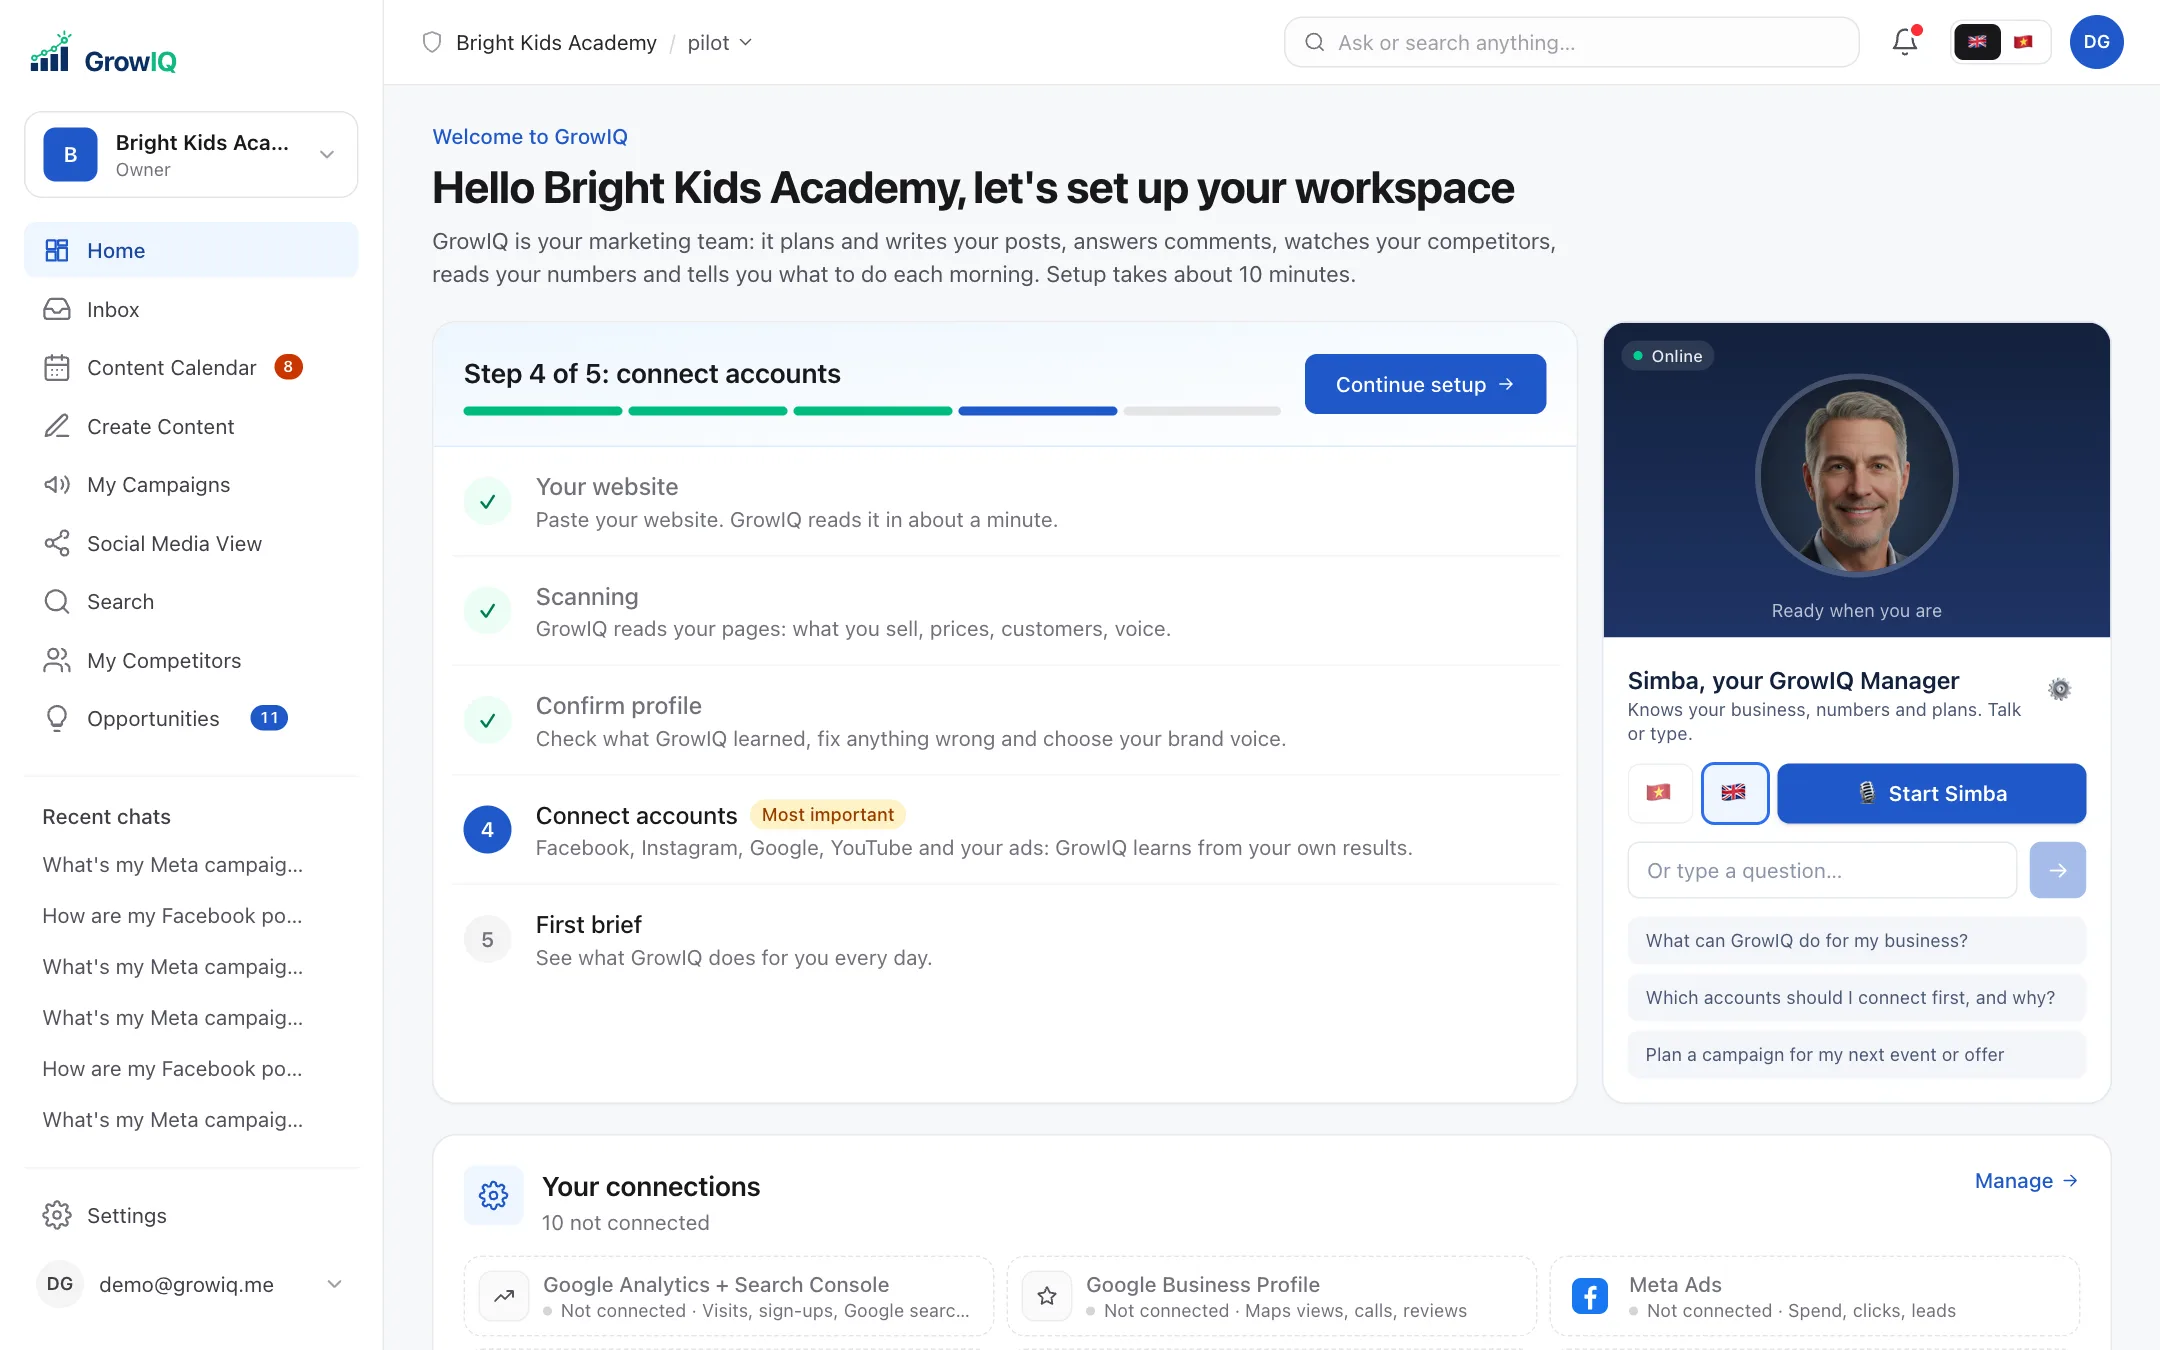
Paste your website and click Understand my business. In about a minute GrowIQ reads your pages and drafts your business profile: what you sell and at what price, who your customers are, why they choose you and how you talk to them.
Remove anything that's wrong, add what's missing, pick your brand voice and languages, then Looks right, continue. Every post, reply and ad GrowIQ writes starts from this profile.
Tip
GrowIQ flags claims that are risky or out of date (old event dates, prices that don't match). Answer those questions in Settings → Business profile so nothing wrong ends up in a post.
Step 4
Connect your accounts
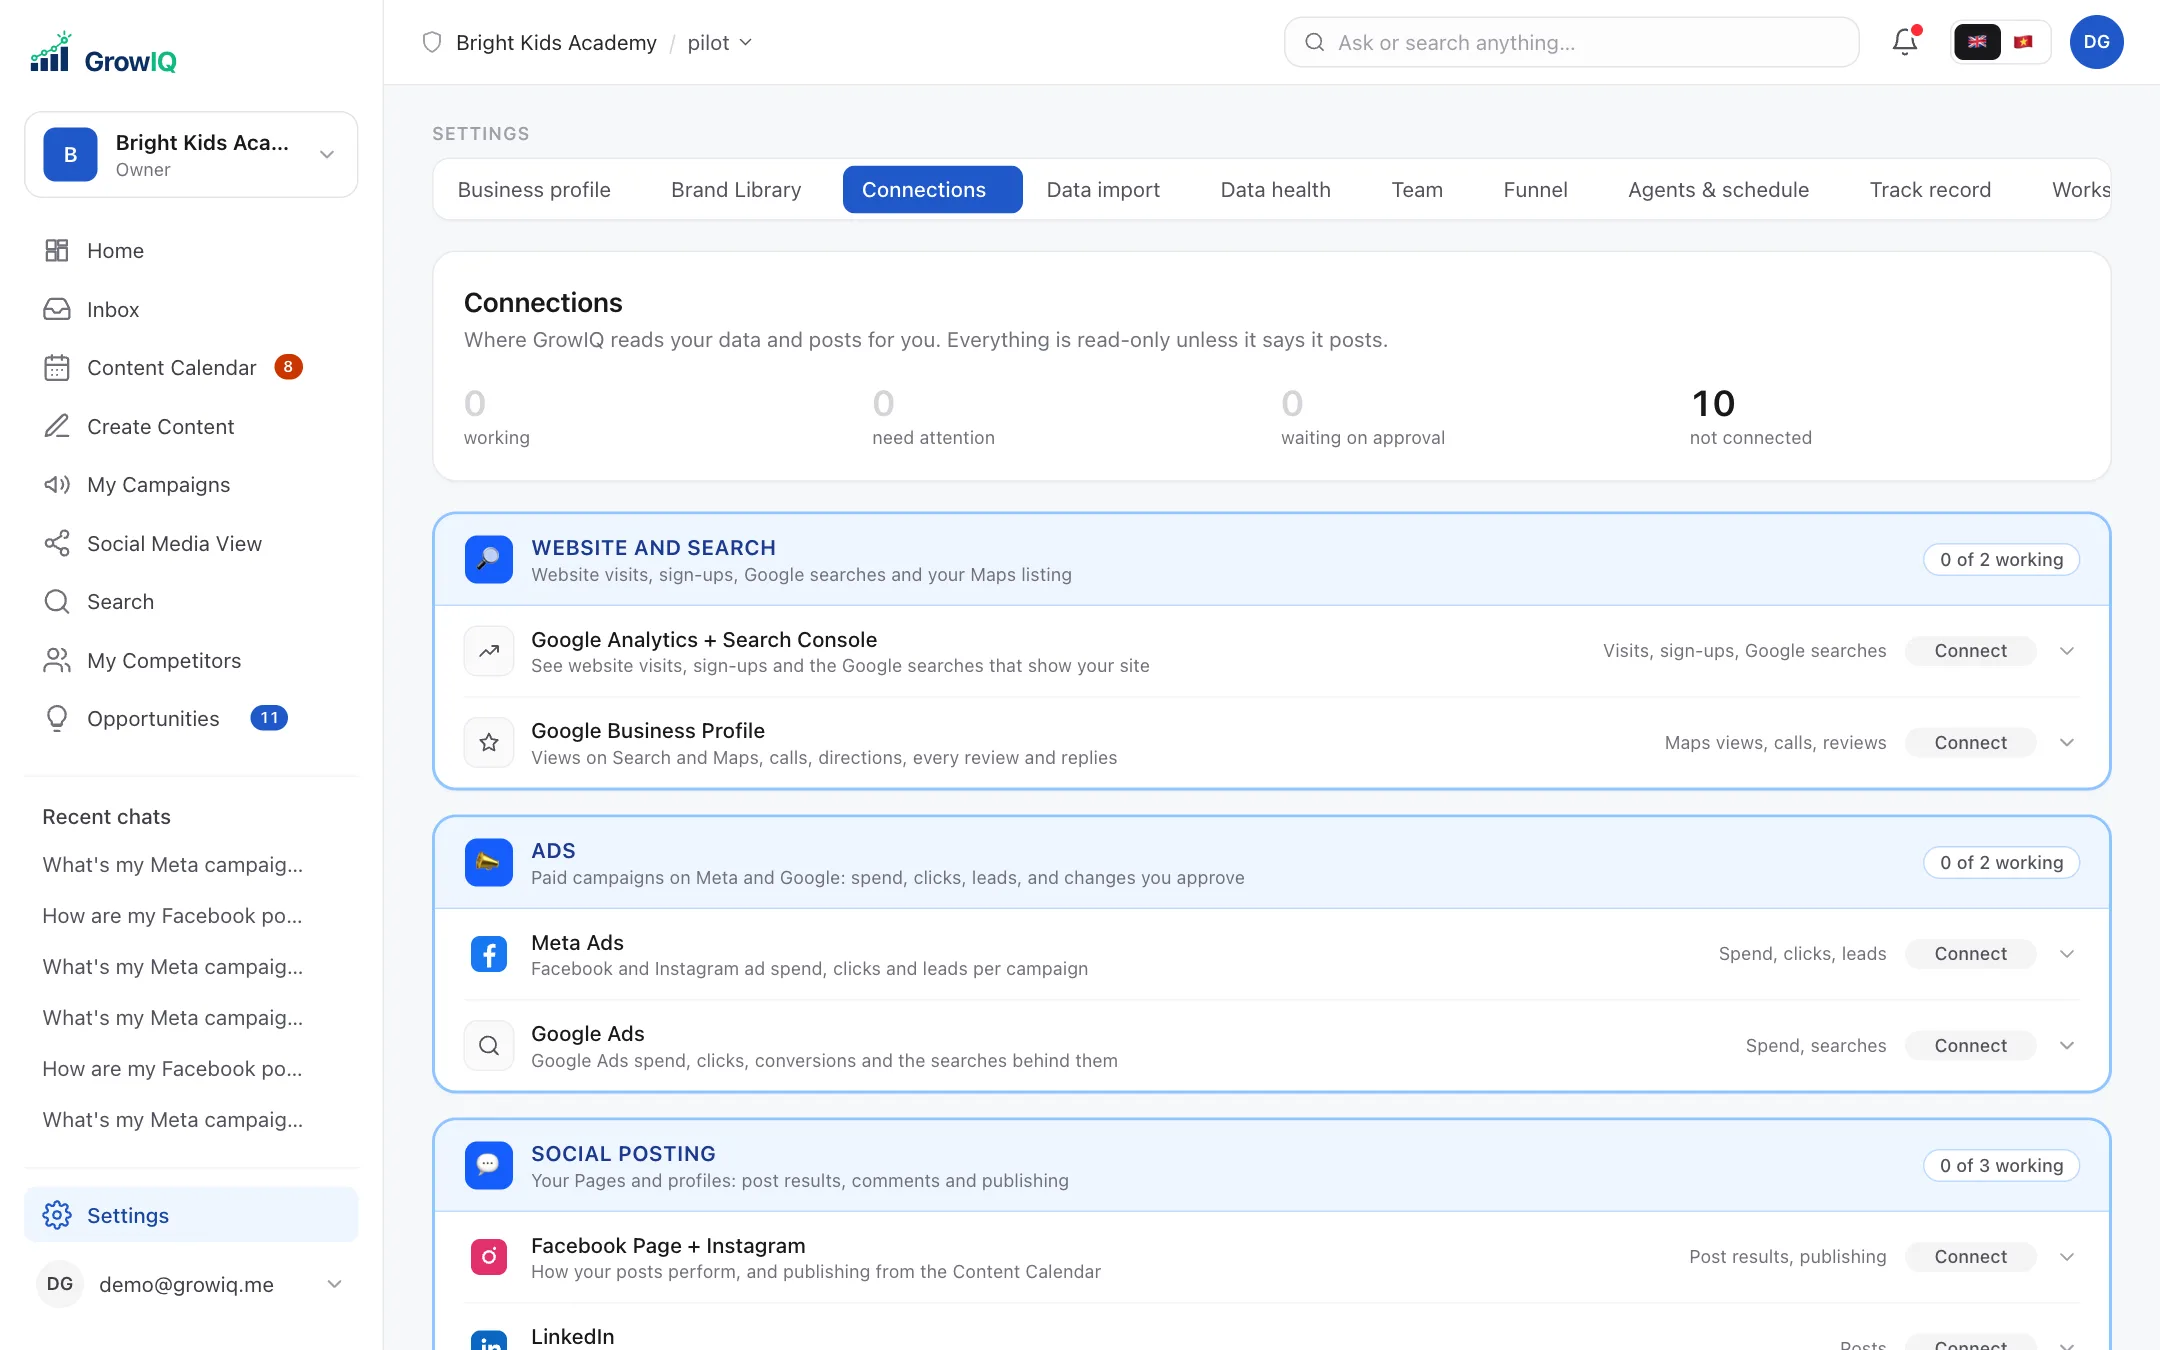
This is what makes GrowIQ yours: it learns from your own results. Each connection takes about a minute:
- Facebook Page + Instagram: your posts and their results, comments, and publishing.
- Google Analytics + Search Console: website visits, sign-ups and the Google searches that find you.
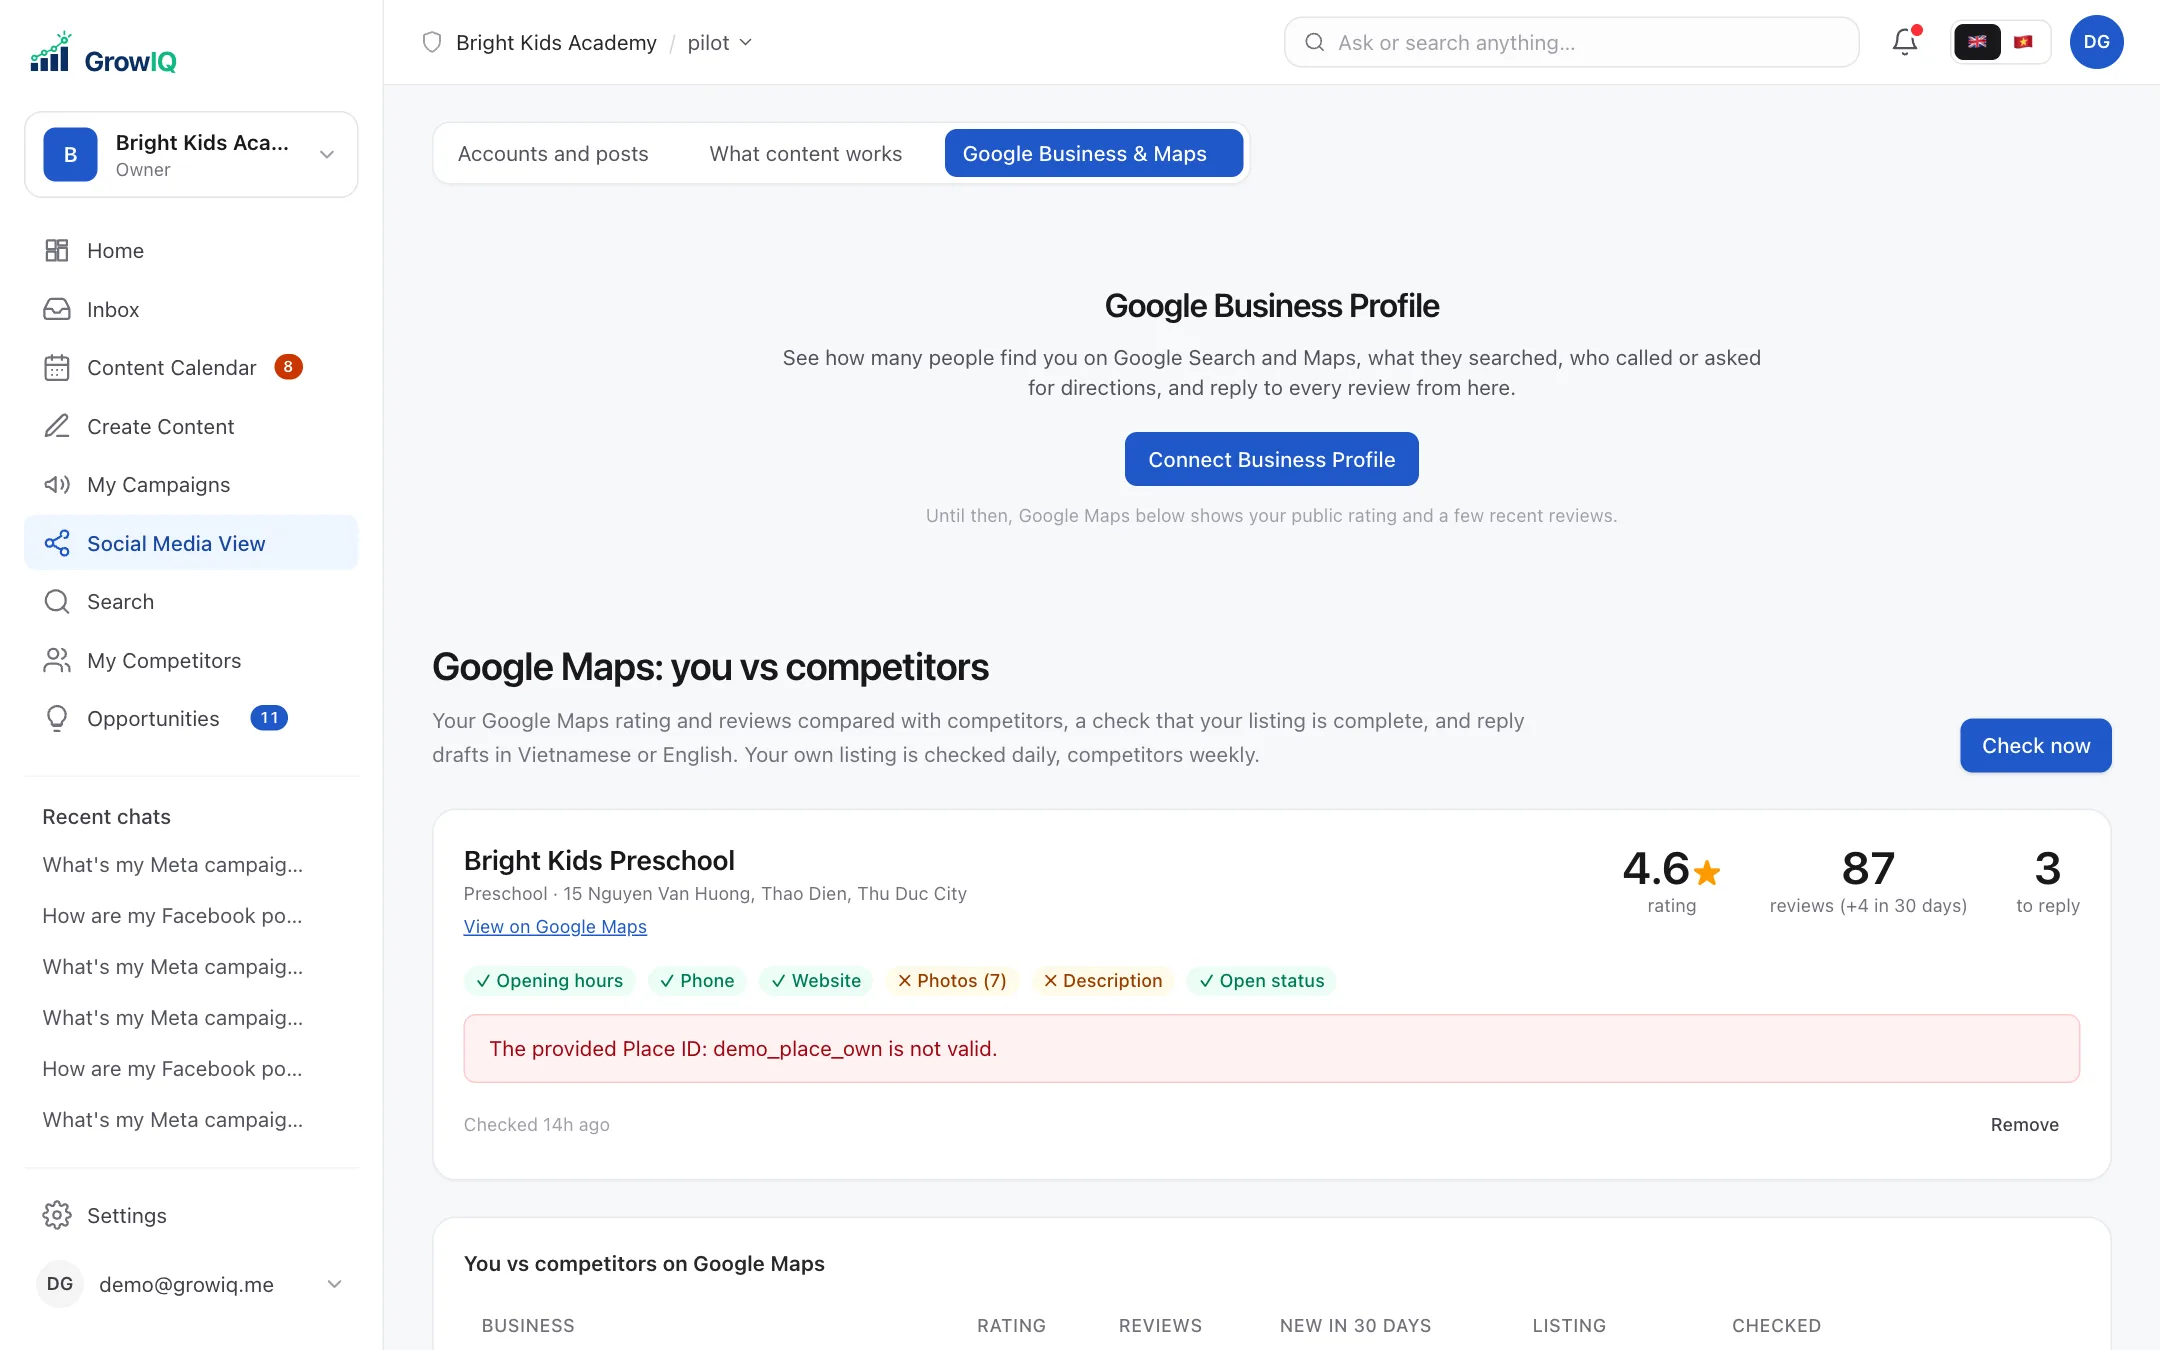
- Google Business Profile: Maps views, calls and every review.
- YouTube, LinkedIn (your Company Page), Meta Ads and Google Ads: videos, posts and ad results.
- Canva: edit any image in Canva and bring it back.
After signing in you choose which Page, property or ad account to use, then come back with Back to setup.
Connect with the right account
GrowIQ only sees what the account you sign in with can see. Use the account that manages your Facebook Page and ad account. GrowIQ only reads unless you choose to post, and nothing is published without your approval.
Step 5
Invite your team
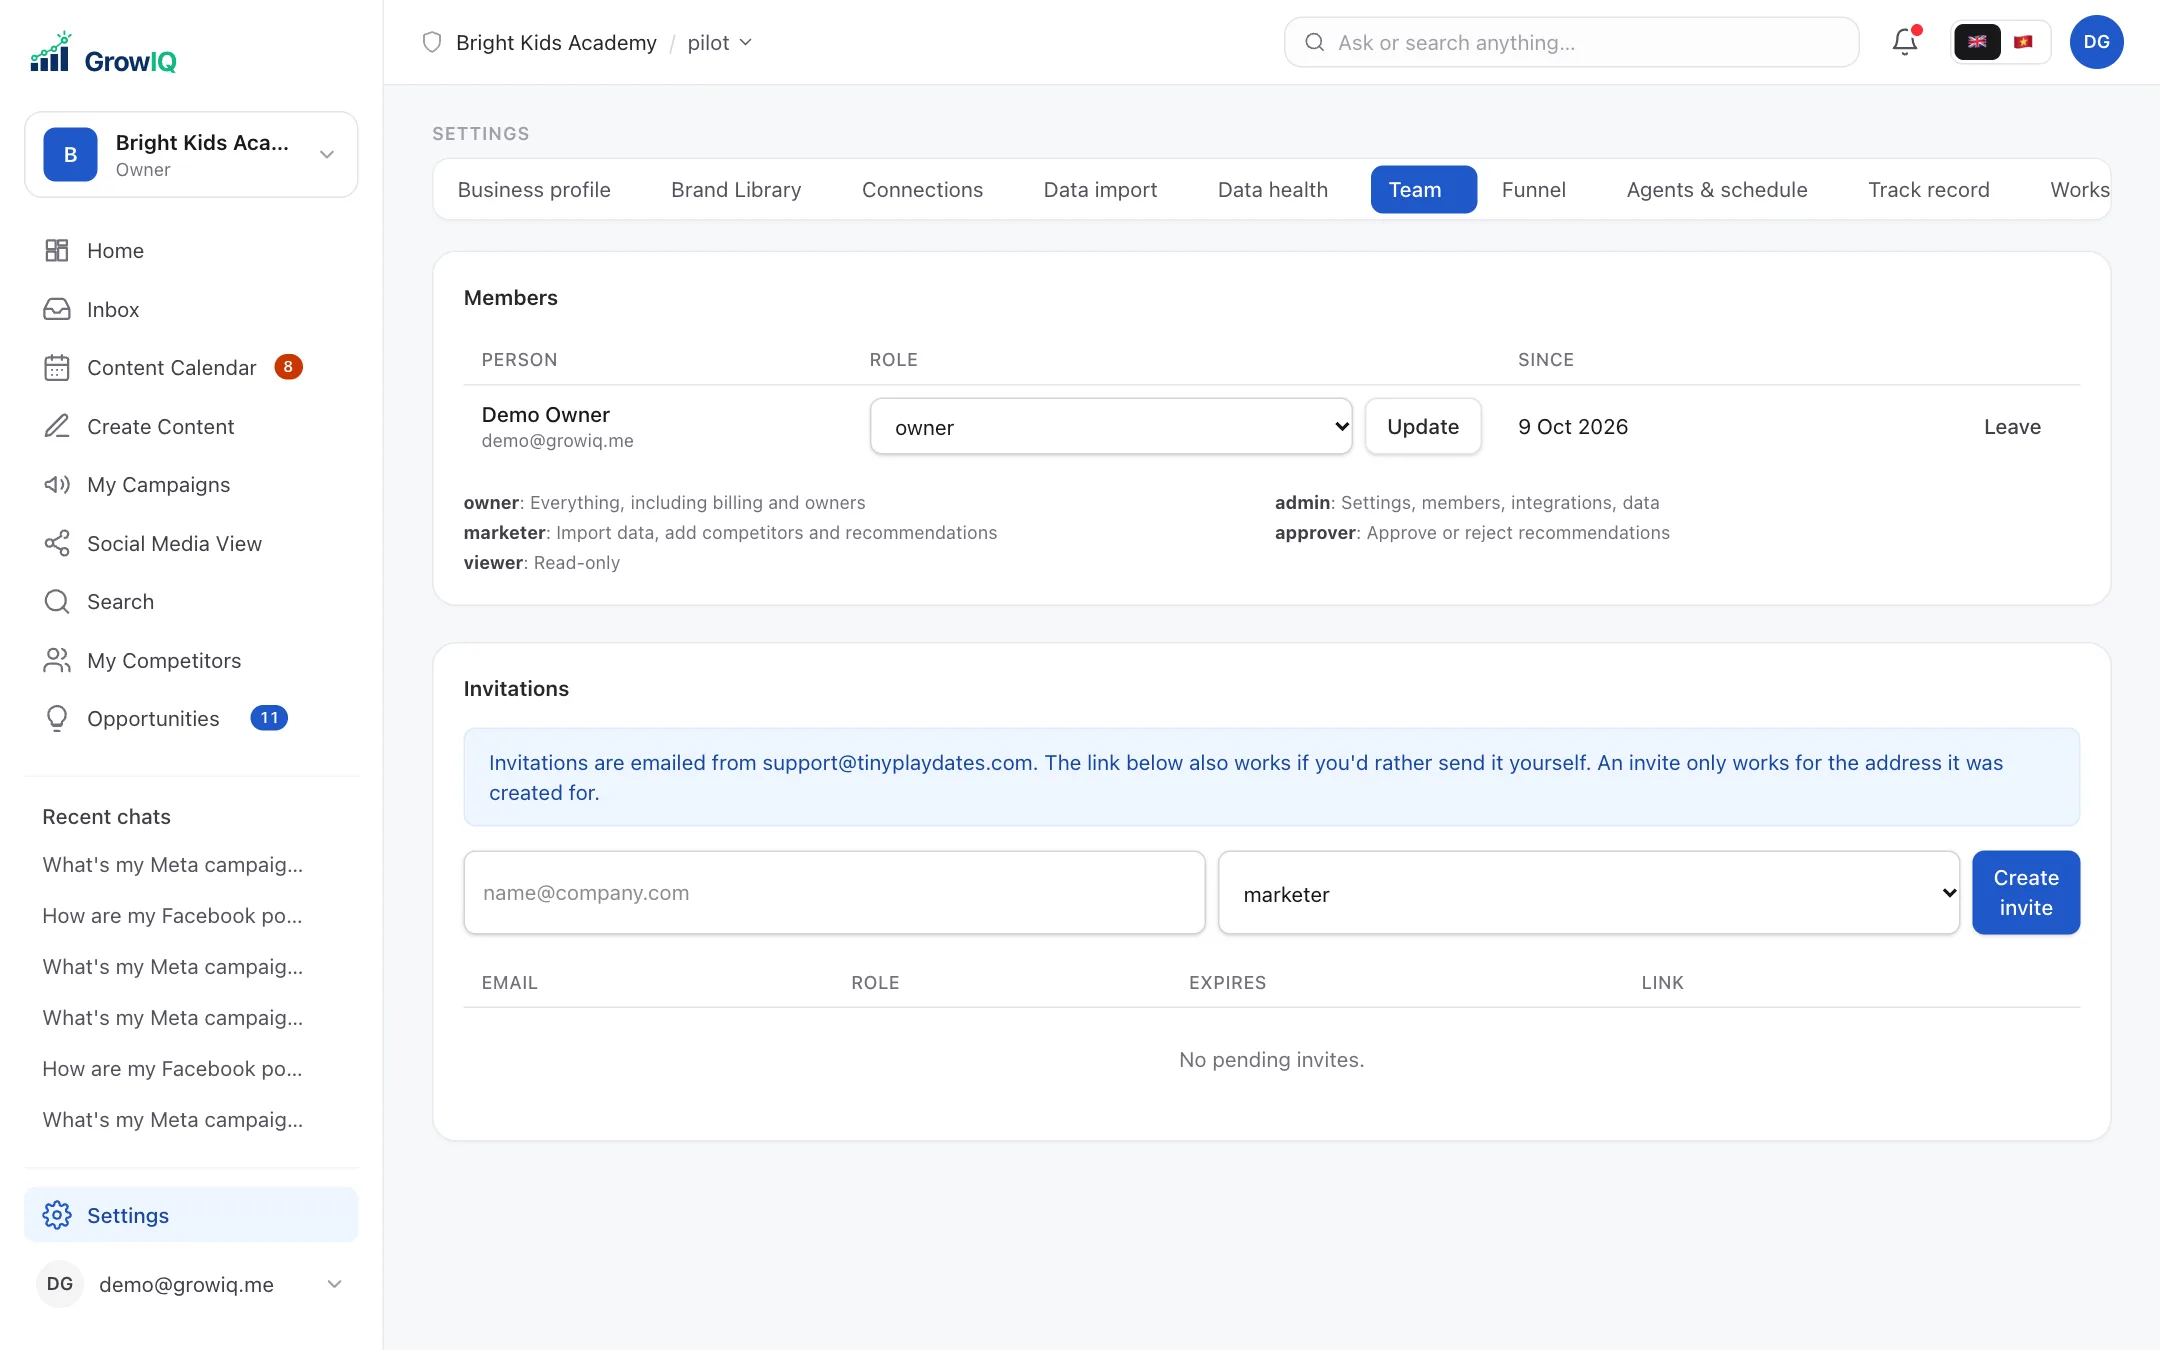
In Settings → Team, enter a colleague's email, choose a role and click Create invite. They get an email with a link (you can also copy the link and send it yourself).
- Owner / Admin: everything, including settings, connections and members.
- Marketer: create posts, plans and campaigns, reply to comments.
- Approver: approve or reject posts and recommendations.
- Viewer: read only.
In Settings → Workspace you set the default language for new members and turn the 08:30 morning brief email on or off.
Part 2 · Every day
A few minutes a day: check Home, approve or write posts, answer comments.
Step 6
Start with Home: your morning brief
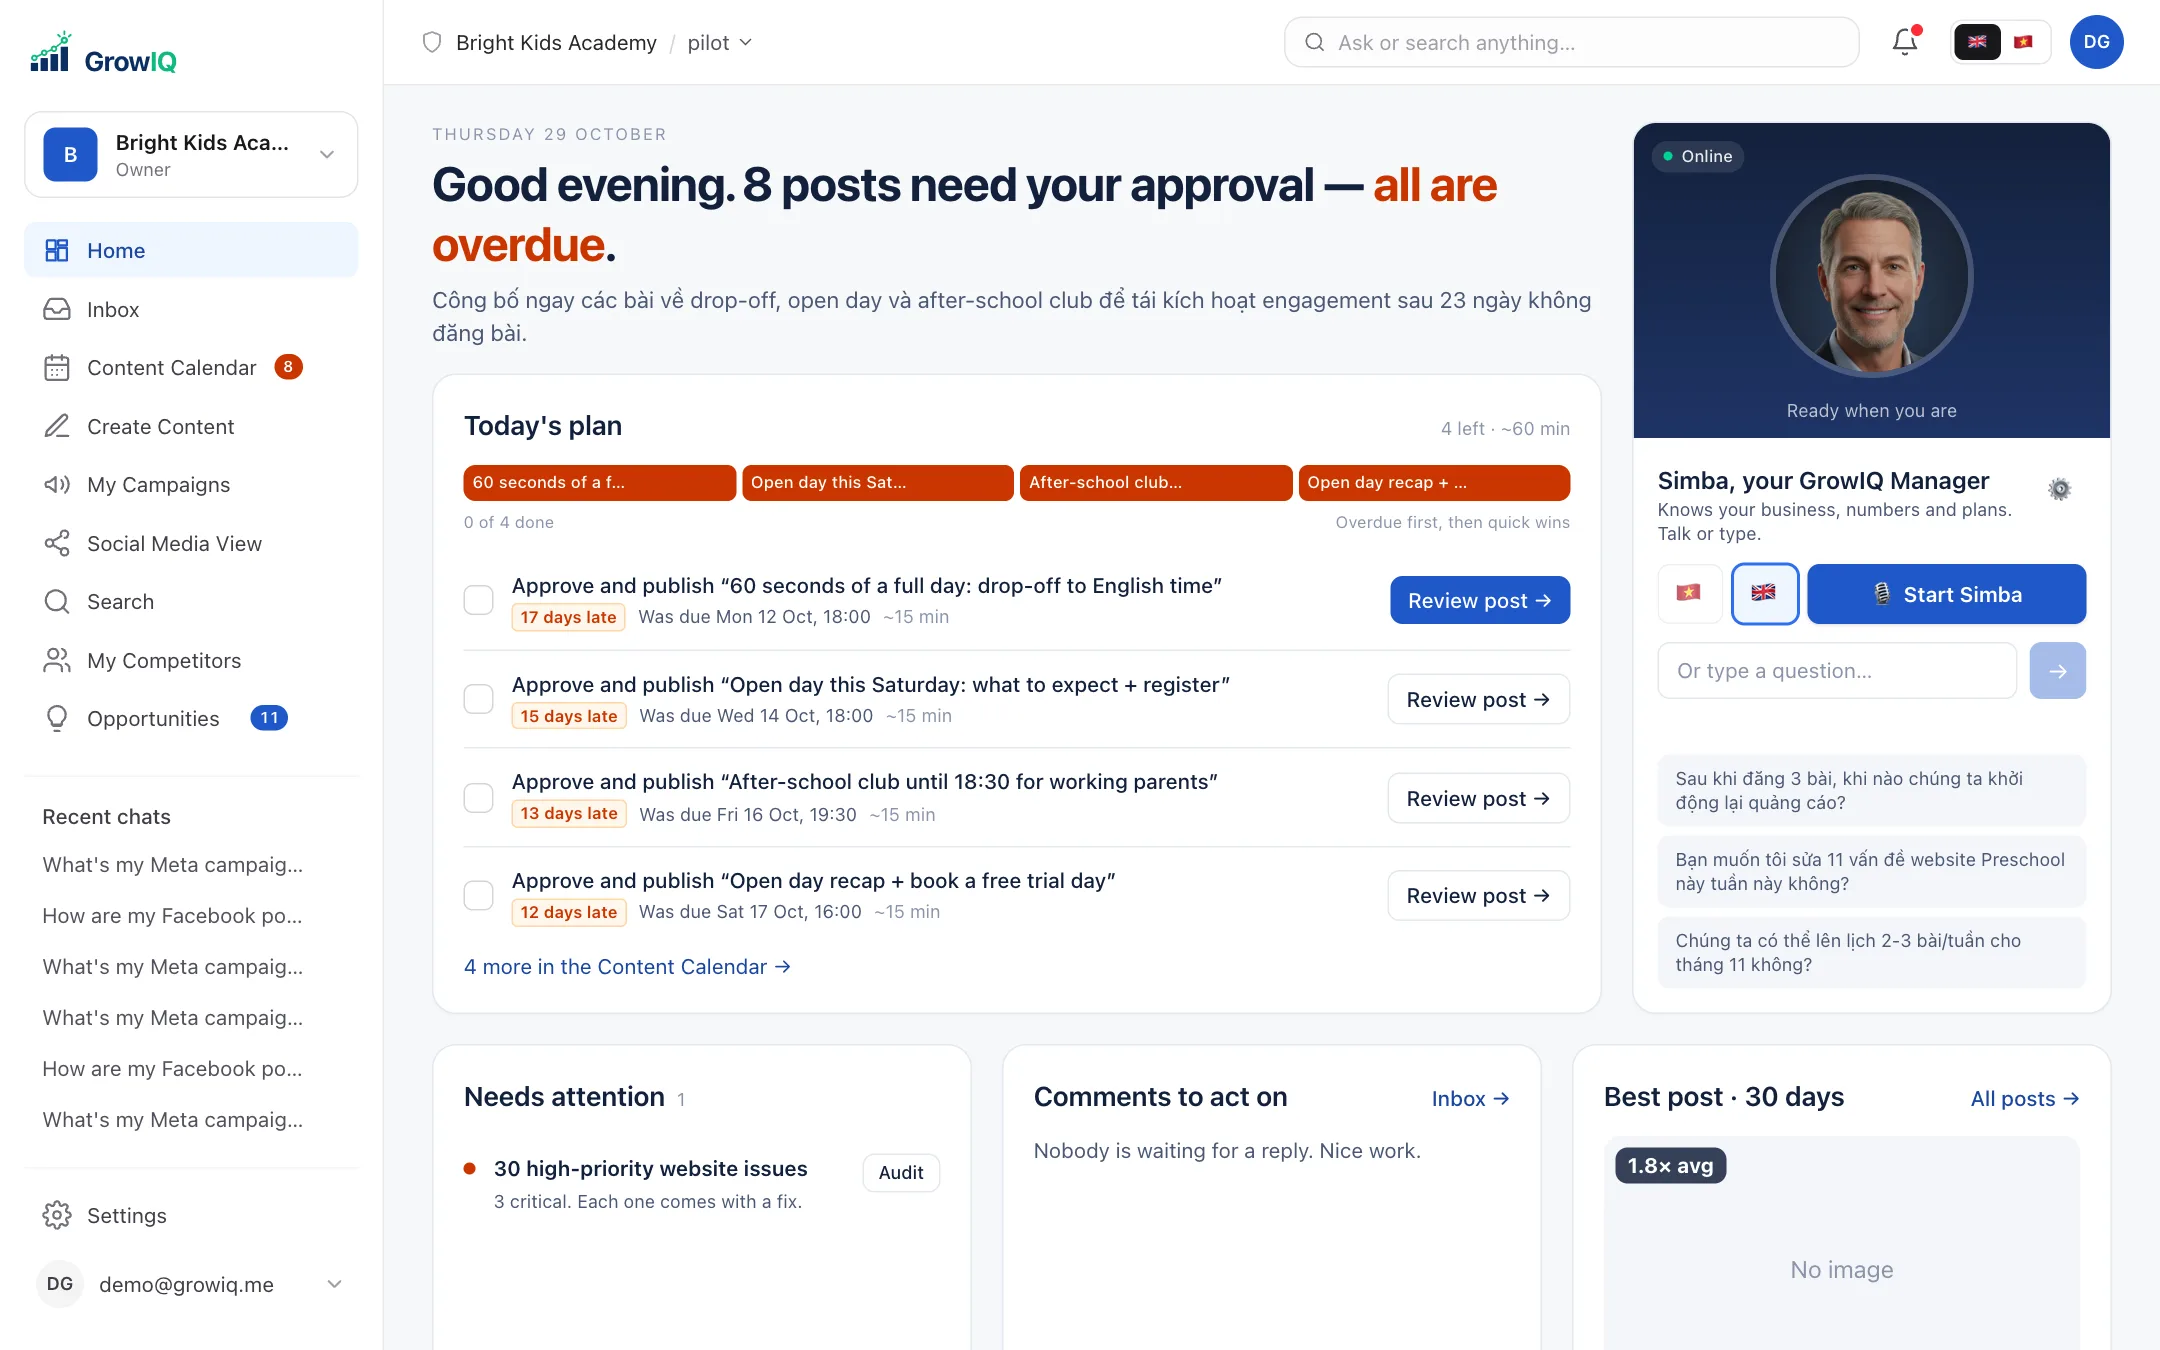
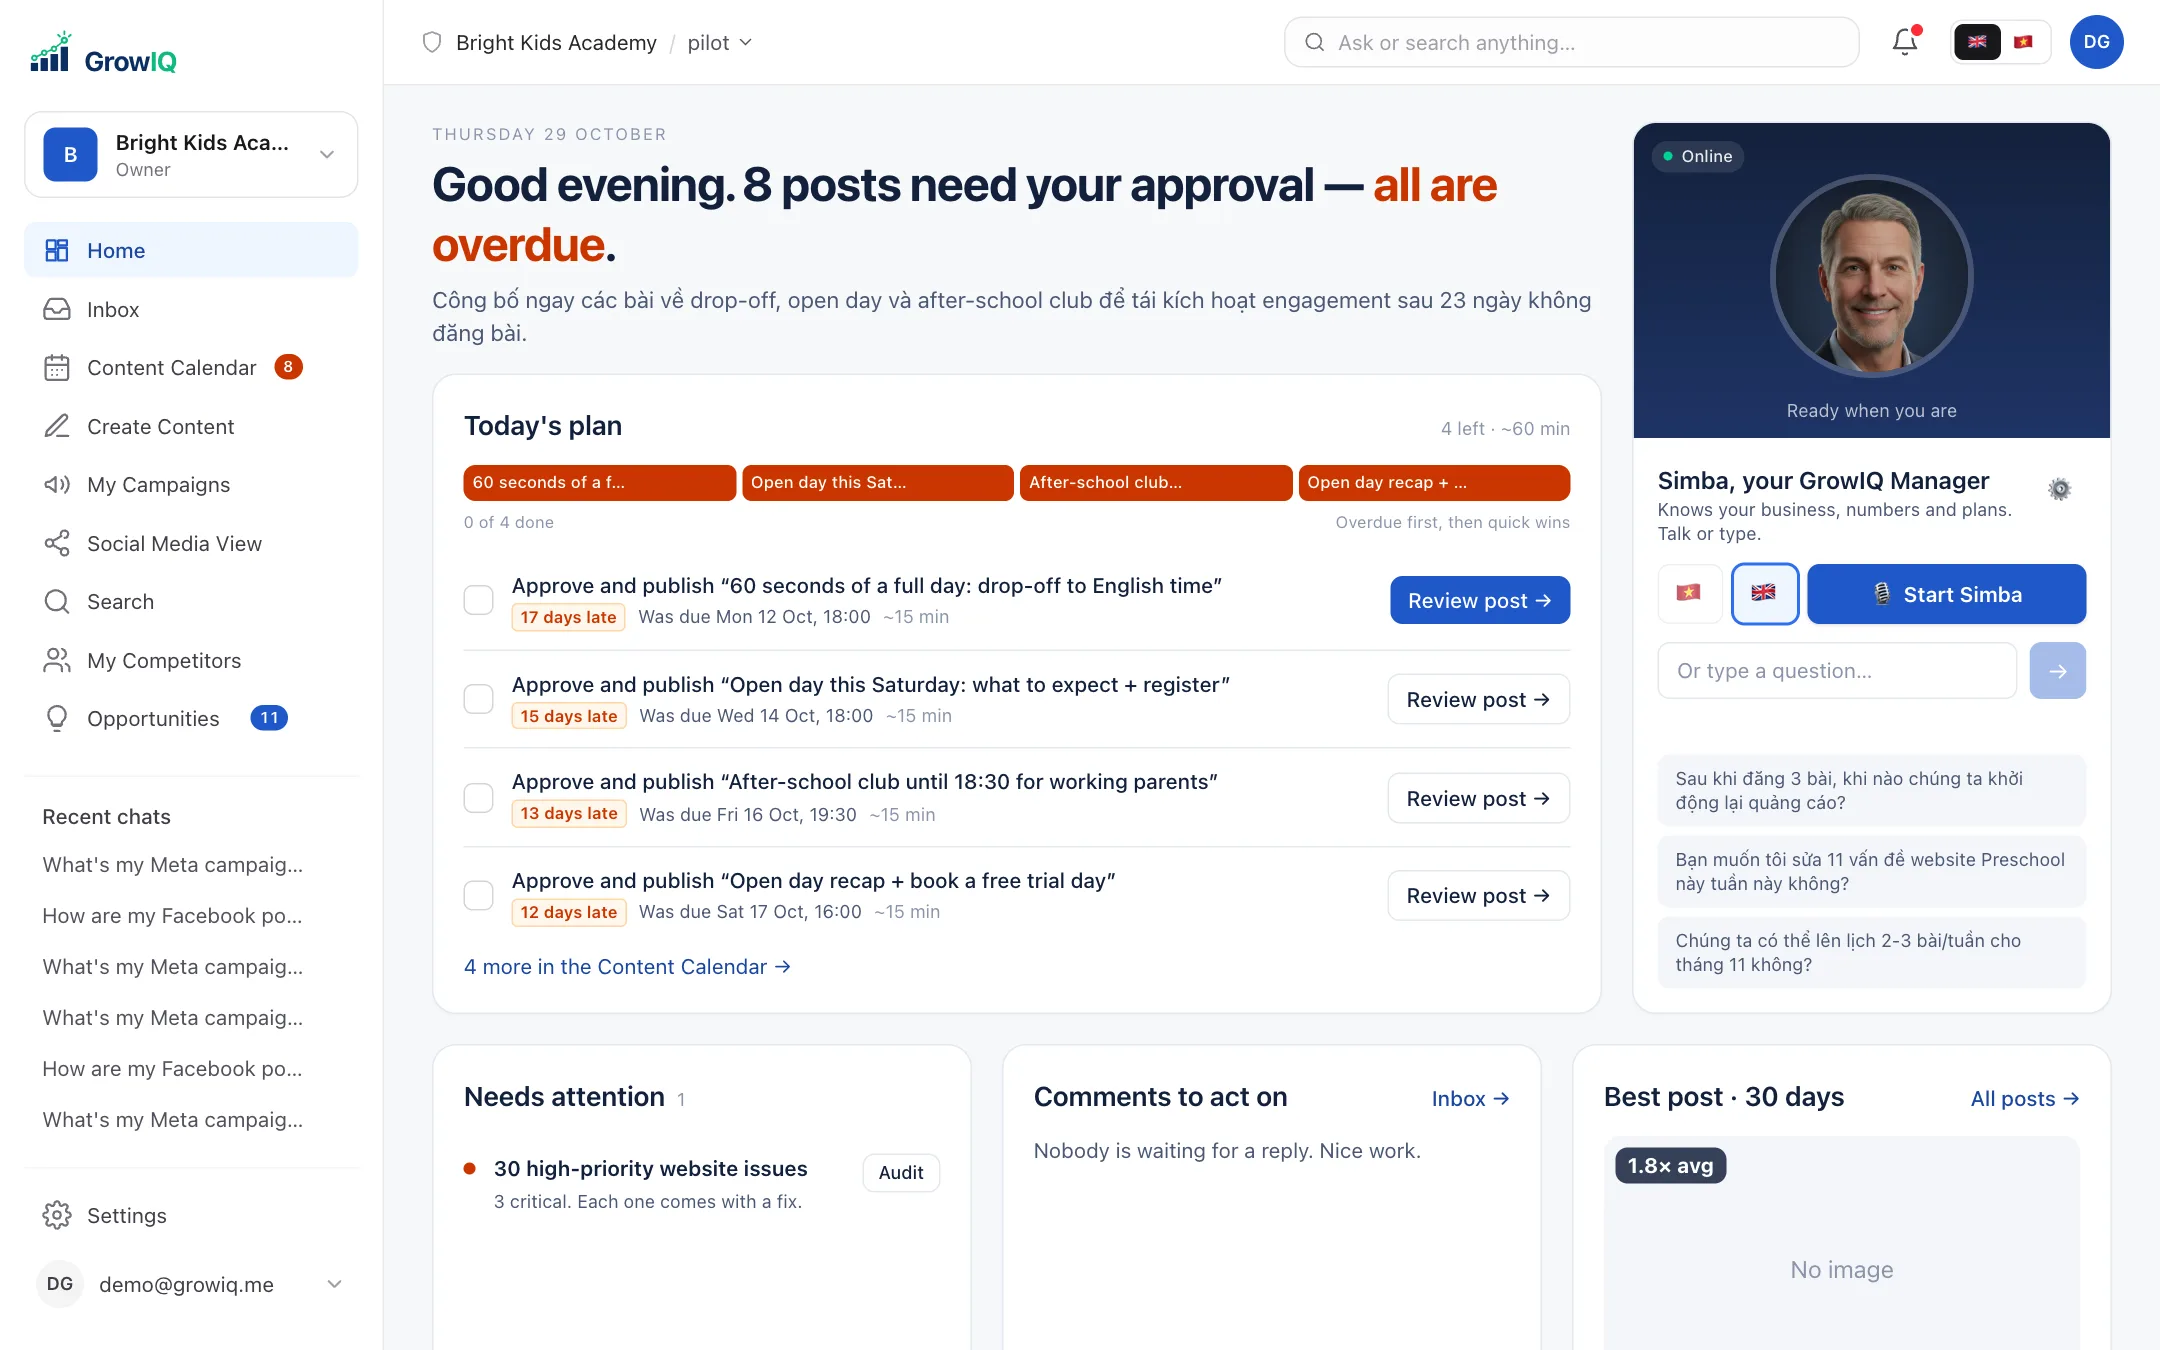
Home tells you what to do today: posts waiting for approval, comments to answer, what changed in your numbers and what's coming up. The same brief is emailed to owners and admins at 08:30.
Until setup is finished, Home shows the setup steps instead, with one button to continue.
Step 7
Ask GrowIQ, or talk to Simba
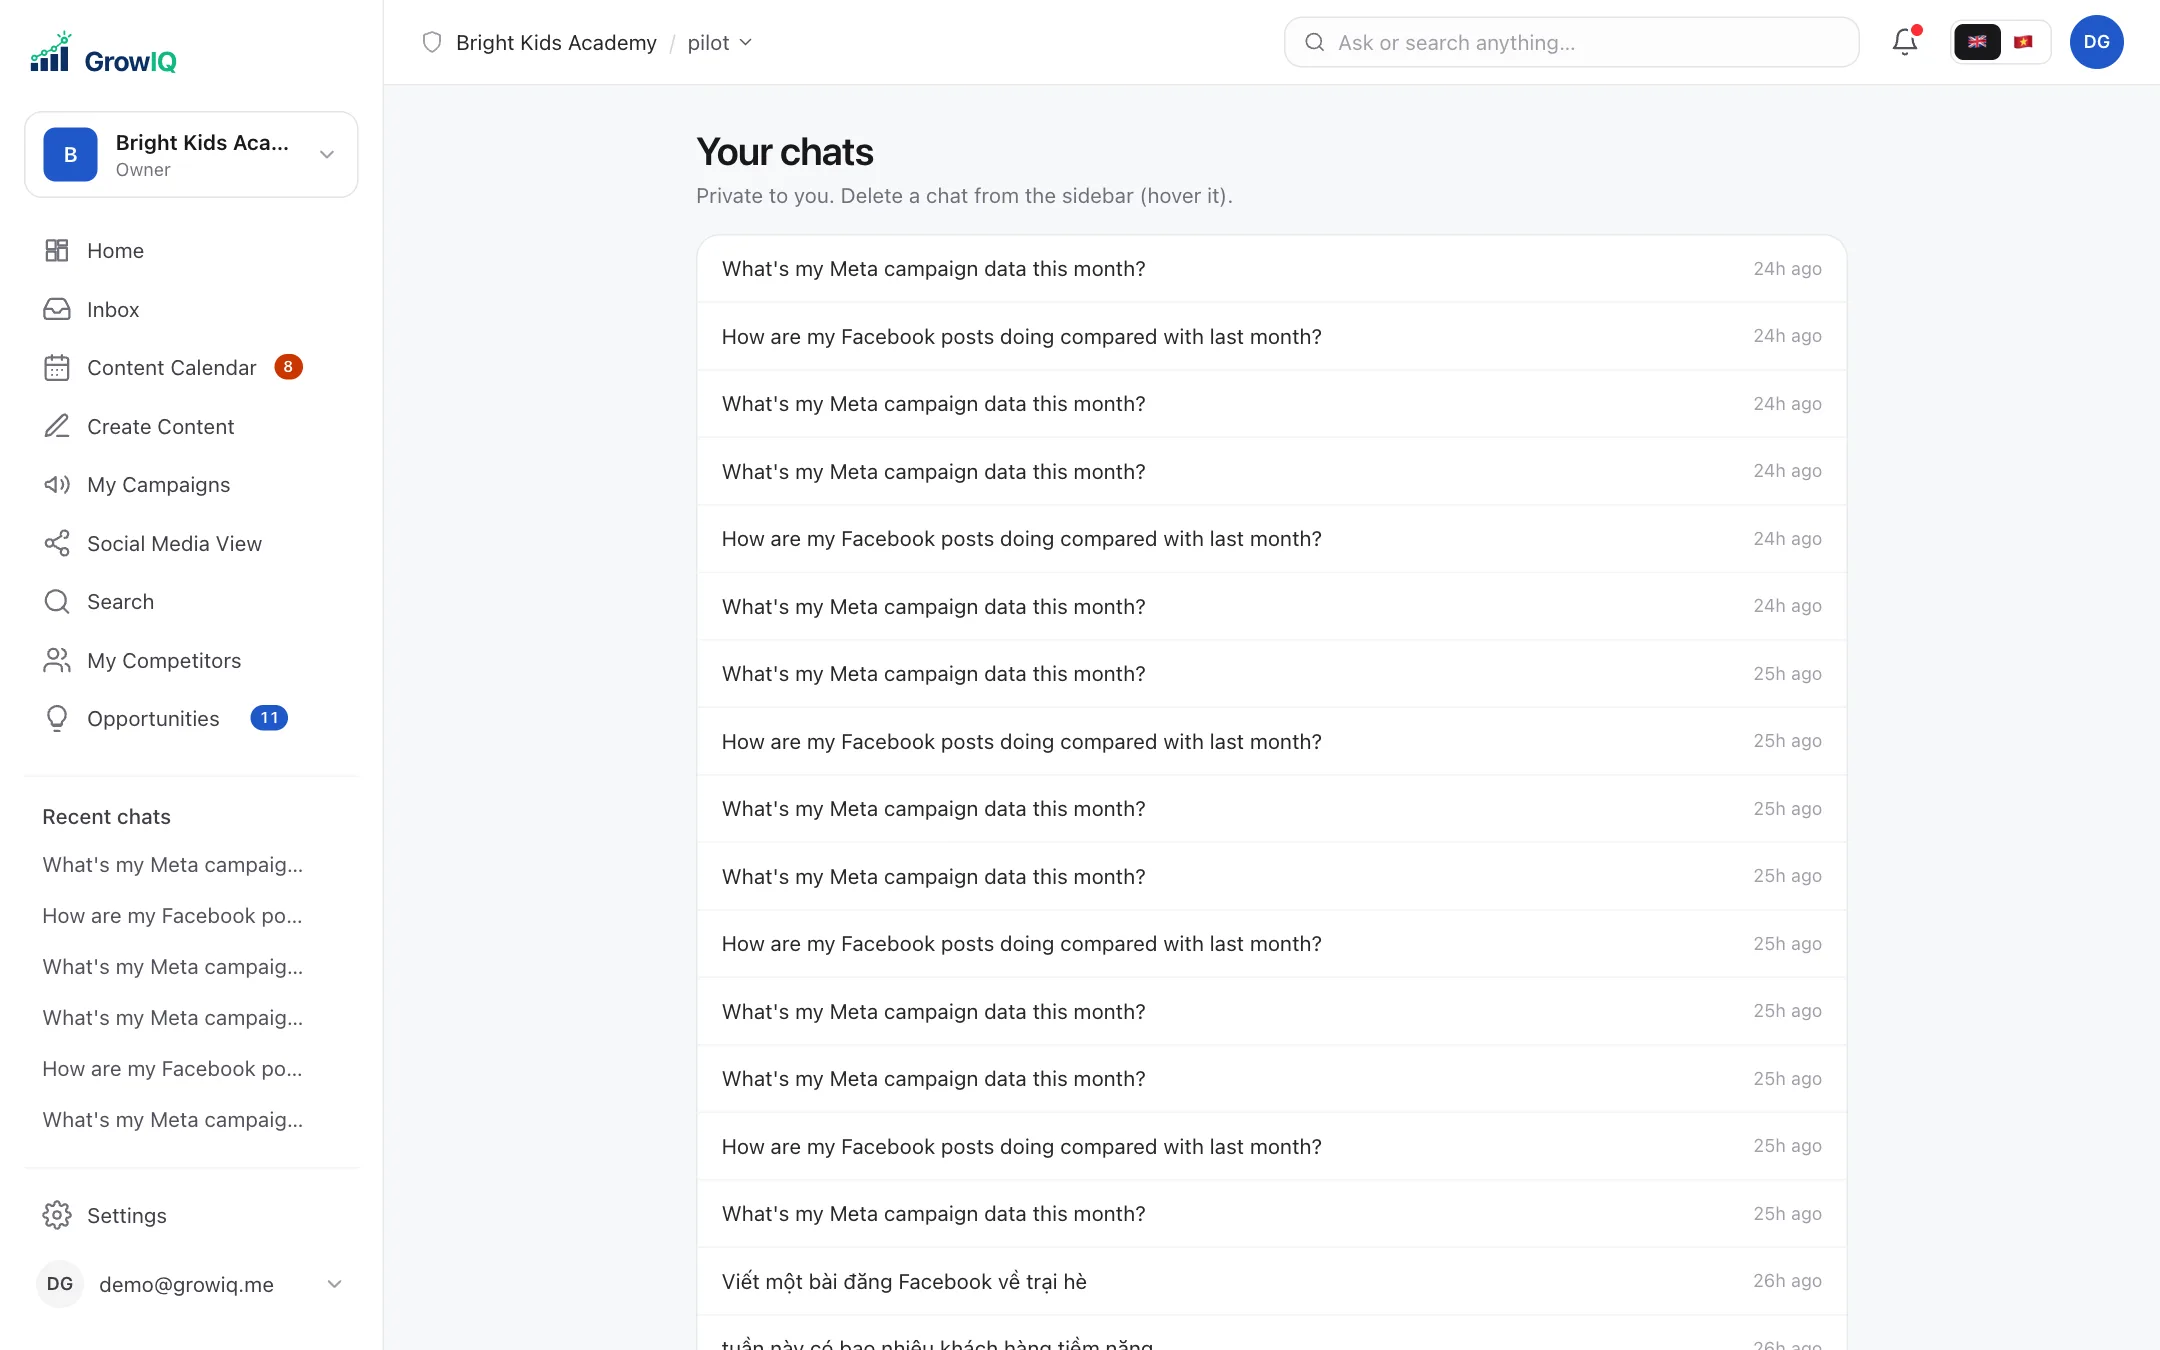
Type any question in the Ask or search anything bar at the top: "How did my posts do this week?", "Which ad is working best?". GrowIQ answers from your own data and shows what it looked at.
It also does the work: ask it to write a post or plan next week and it shows a card you can edit, then Save as draft, Schedule or Publish now. If something is unclear it asks you with quick buttons.
Simba is your GrowIQ Manager you can talk to. On Home, click Start Simba and speak in English or Vietnamese (choose 🇬🇧 or 🇻🇳). Say "Simba" to wake him, and just start talking to interrupt. You can rename him and change his voice with ⚙.
Step 8
Create a post
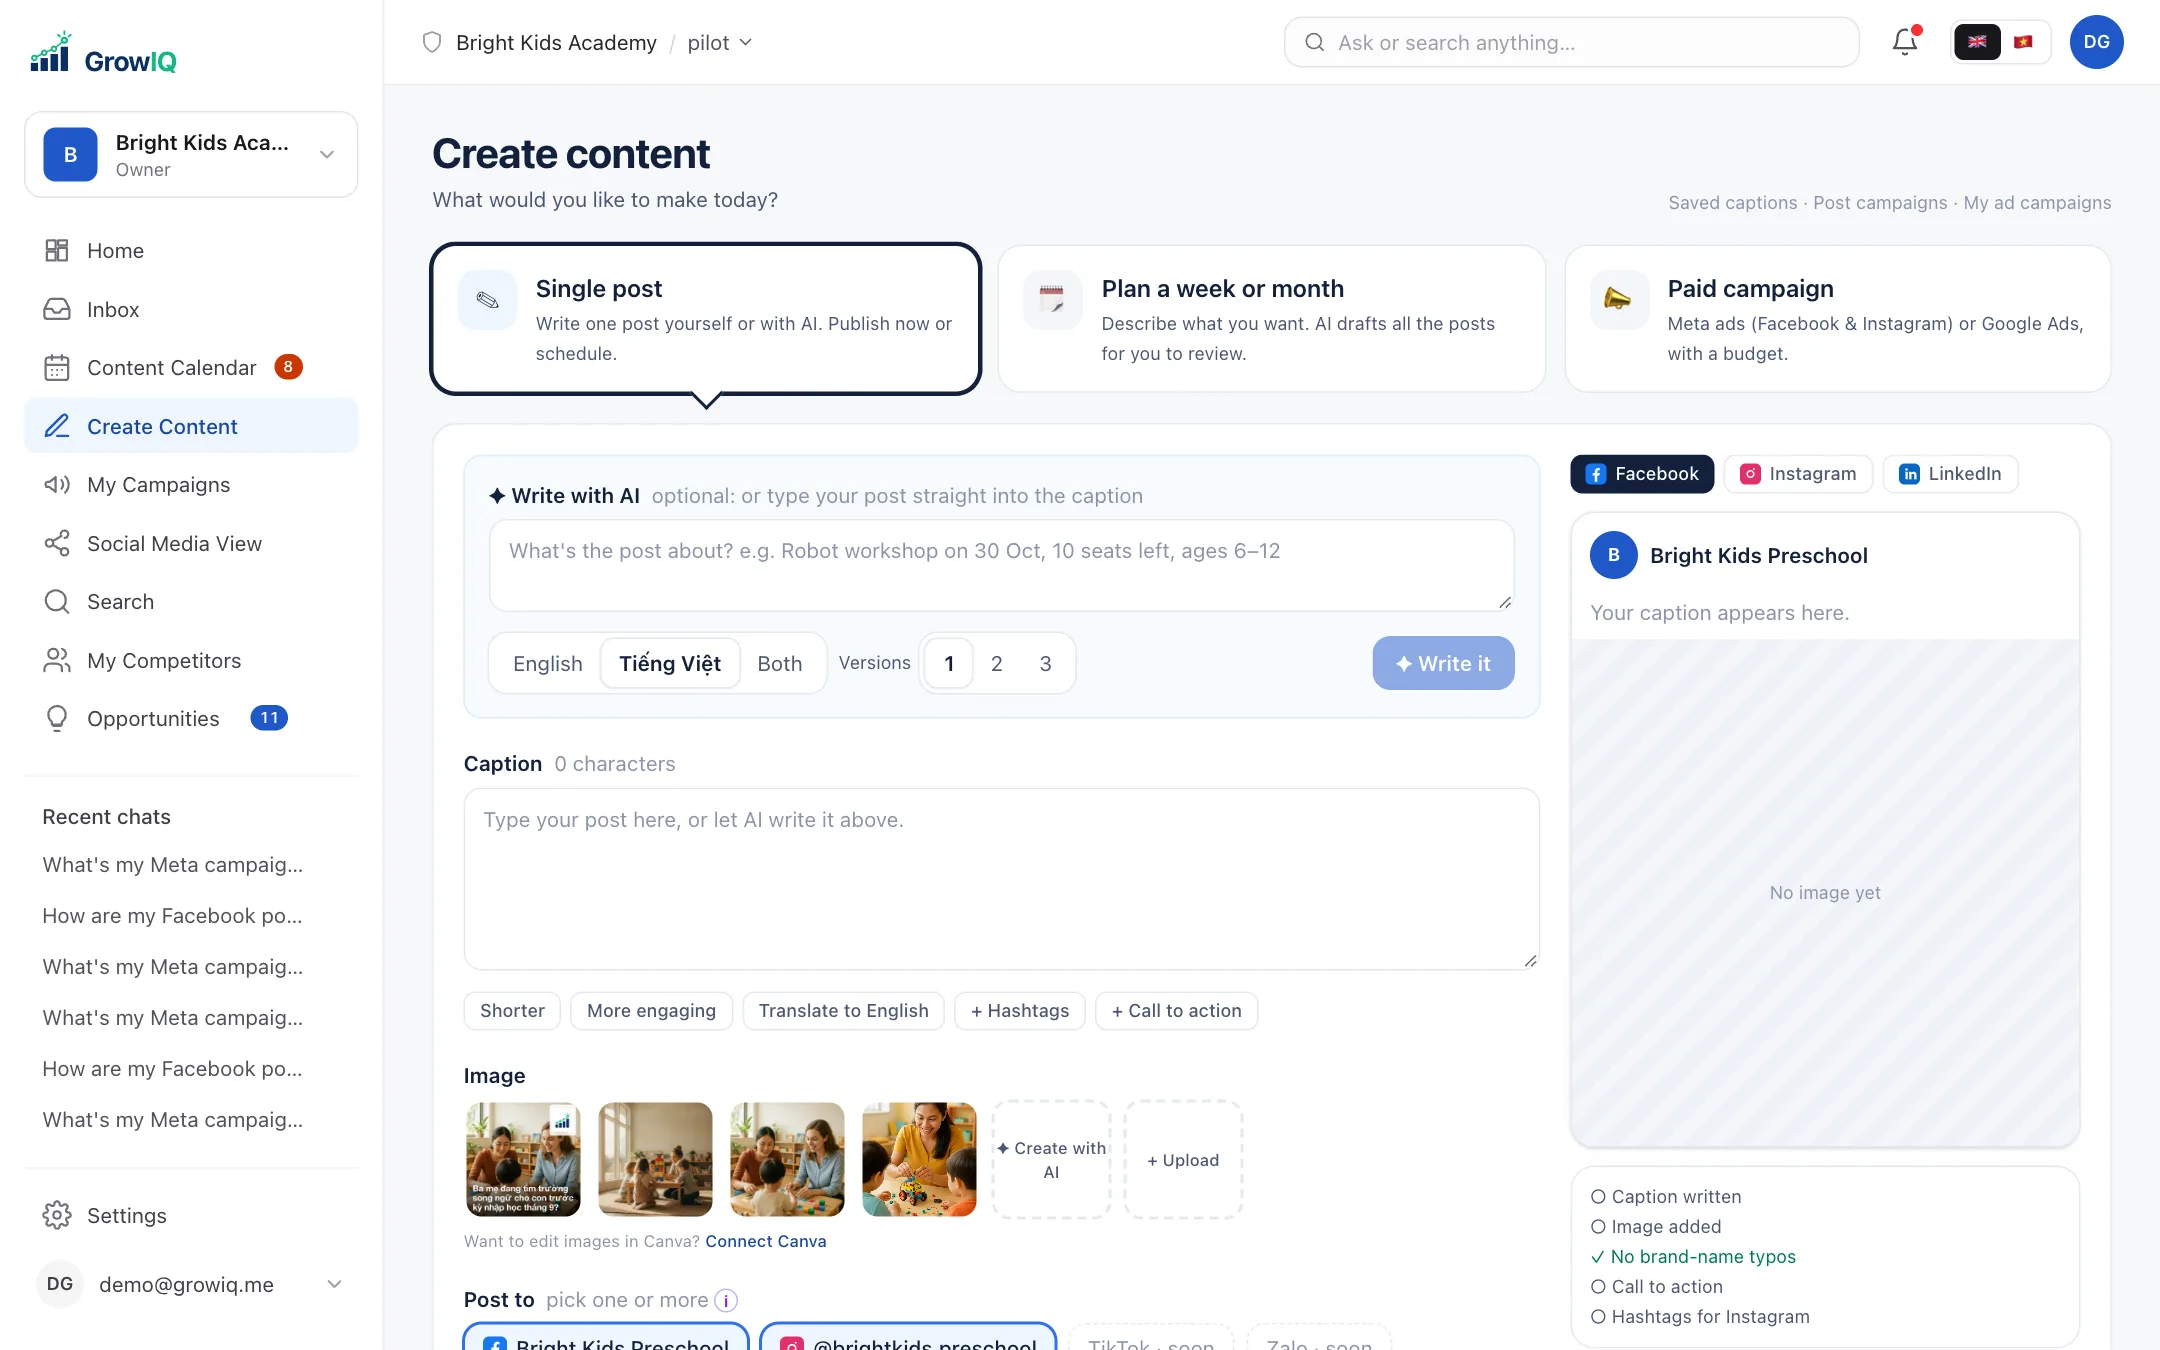
Create Content → Single post. Describe the post in a line ("Open day this Saturday, 9am, free trial class") and click ✦ Write it, or ask for 2 or 3 versions to choose from. Or just type it yourself.
- Polish it: Shorter, More engaging, Translate, + Hashtags, + Call to action.
- Add an image from your Brand Library, create one with AI, upload one, or edit it in Canva.
- Choose the Pages and accounts to post to, then Publish now, Schedule or Save as draft.
The checklist on the right shows what's missing (an image, hashtags for Instagram, a call to action, a typo in your business name).
Step 9
Plan a week or a month
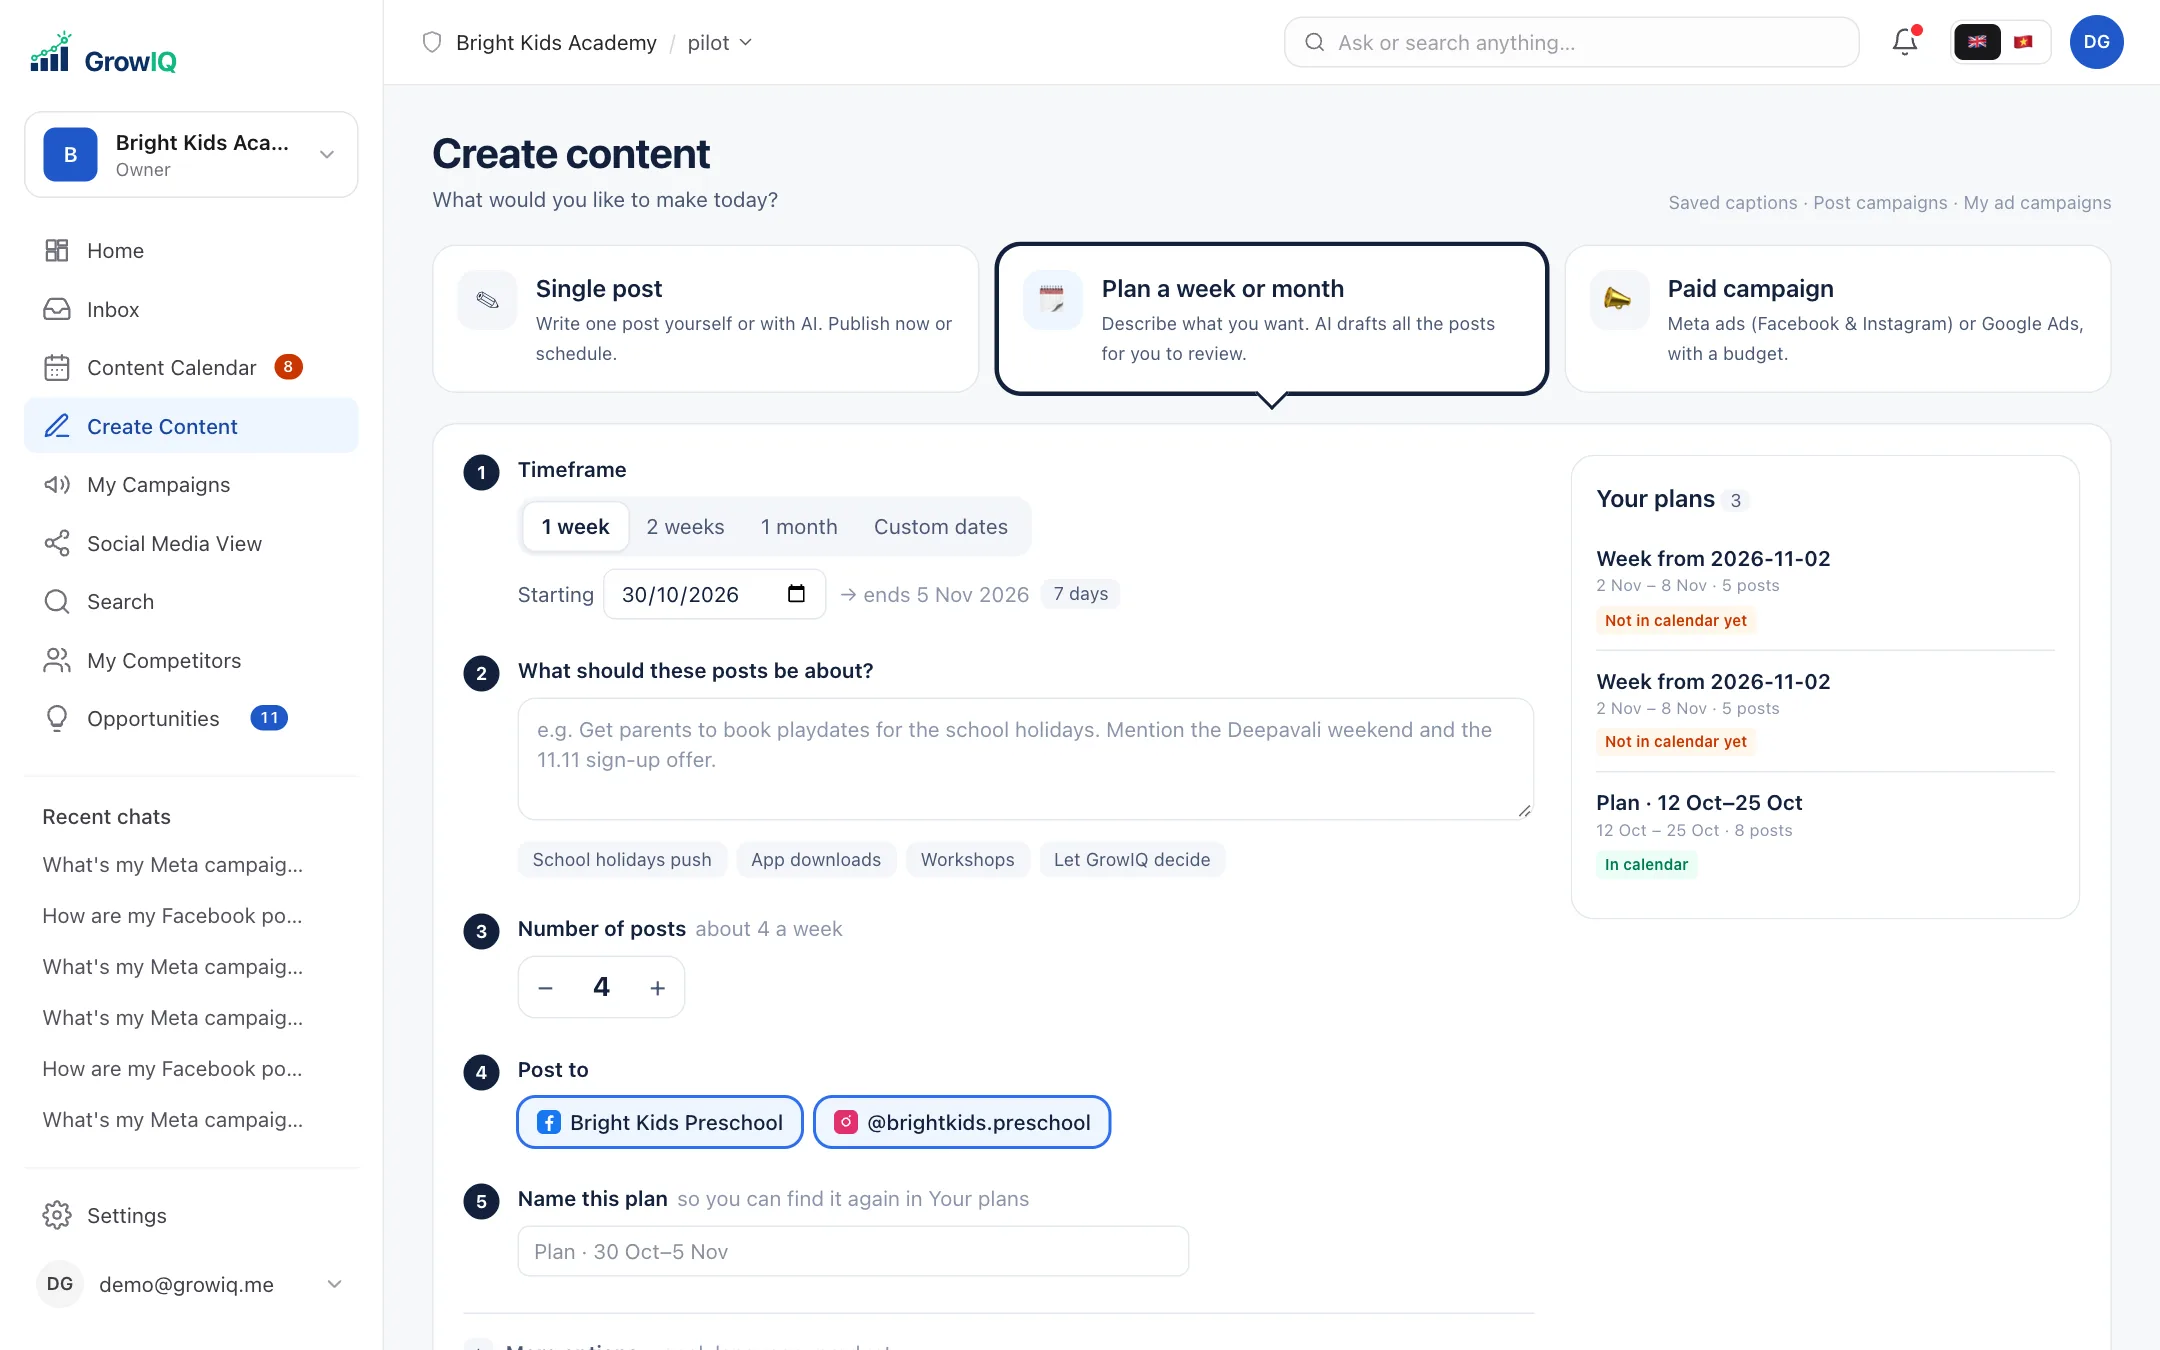
Create Content → Plan a week or month. Say what the posts should be about (or let GrowIQ decide), how many and where. Under More options you set the goal, language and product.
In about a minute you get a plan built on what's worked for you and what's coming up (holidays, events). Edit, regenerate or remove any post, then Add to calendar for approval or Add as drafts. Nothing is posted until it's approved and scheduled.
Step 10
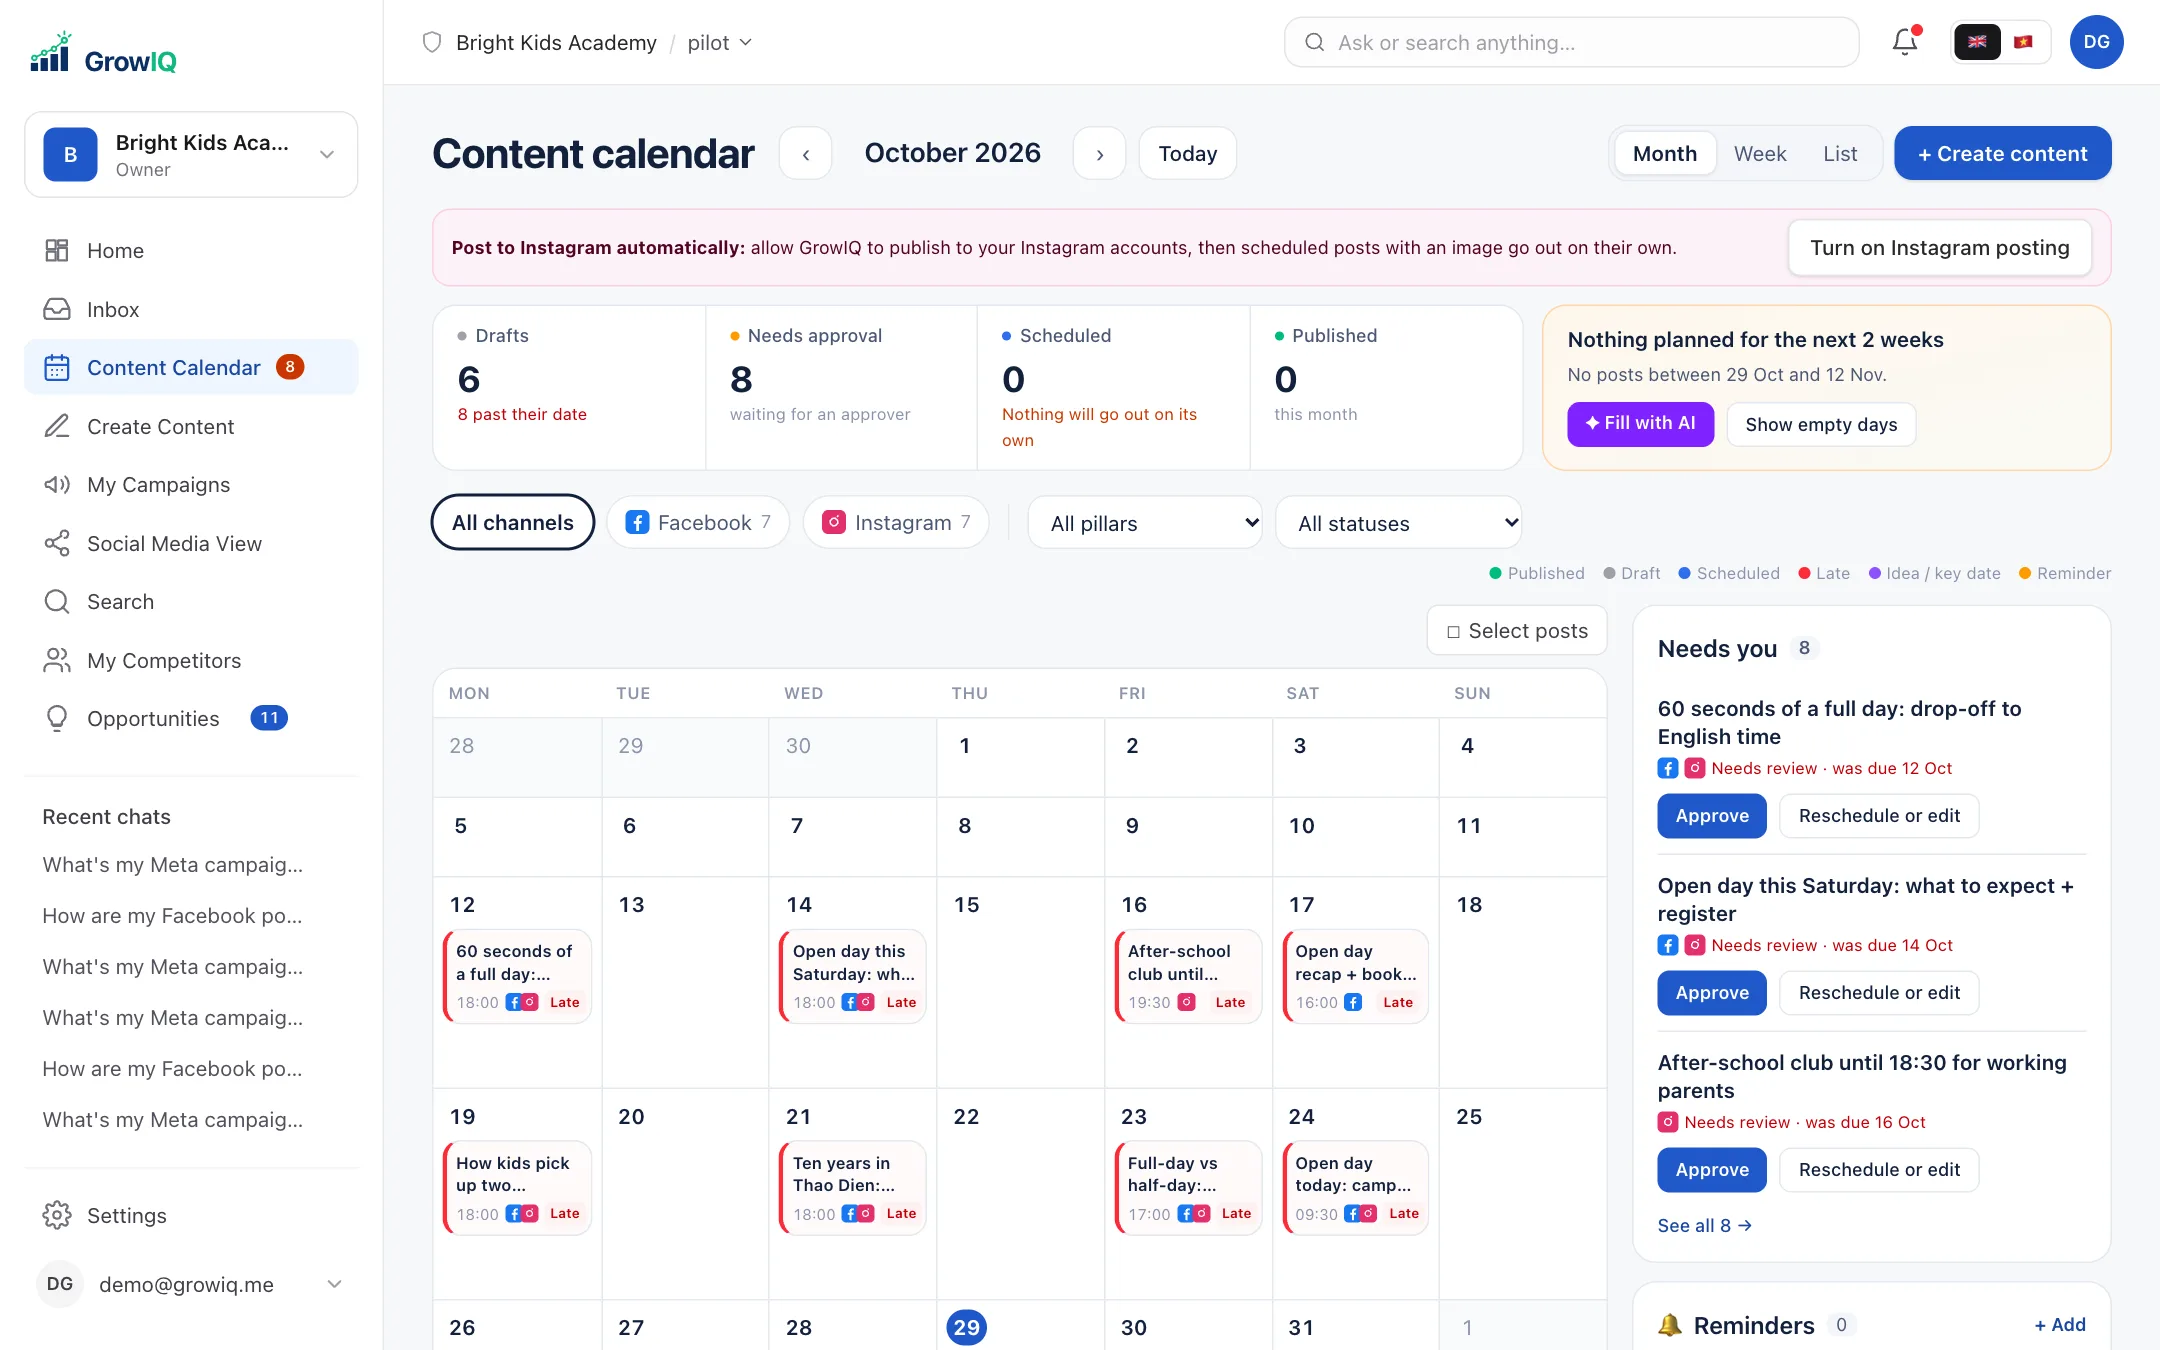
Run your Content Calendar
Every post lives in the Content Calendar: month, week or list view, with drafts, posts waiting for approval, scheduled and published posts in different colours.
- Click a post to edit it, add review notes, approve, schedule, publish now or delete it.
- Drag a post to another day to reschedule it.
- Select posts to delete several at once.
Nothing goes out on its own
Only scheduled posts are published, at their time. Unschedule a post and it stays in the calendar without going out.
Step 11
Answer comments and reviews in the Inbox
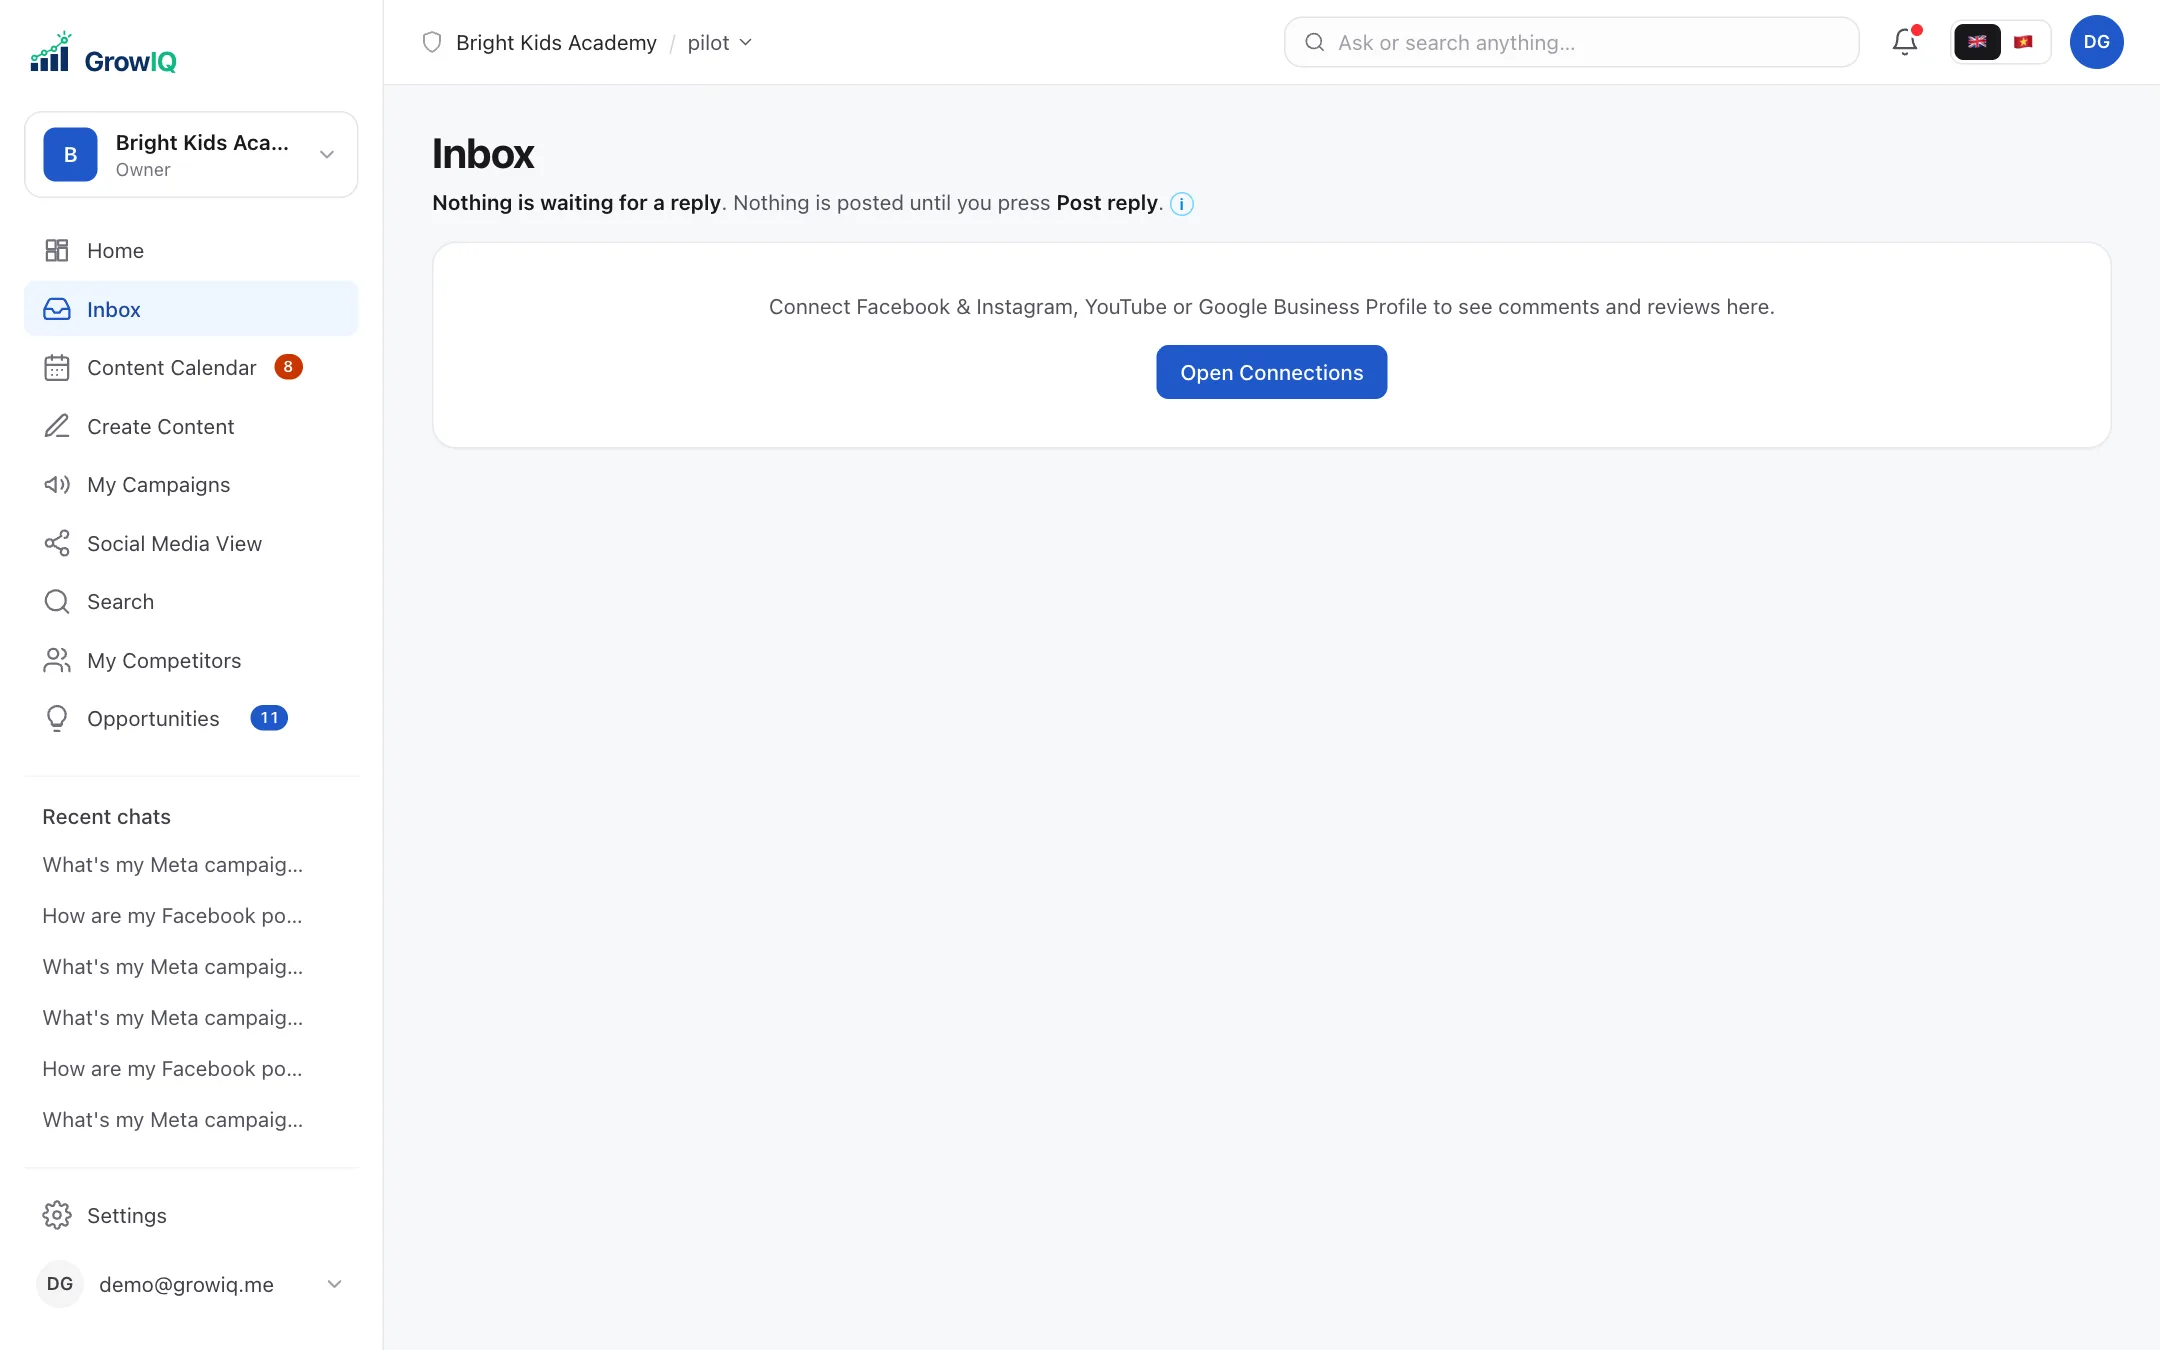
The Inbox collects comments and messages from Facebook, Instagram, YouTube and LinkedIn, and your Google reviews, once those accounts are connected. Spam is held back.
Open one, click ✦ Draft with AI (Auto, English or Tiếng Việt; Friendly or Short), edit if you like, then Post reply. Nothing is posted until you press it.
Part 3 · Grow
Ads, Google search, competitors and opportunities: when you're ready to do more.
Step 13
Run paid campaigns on Meta and Google
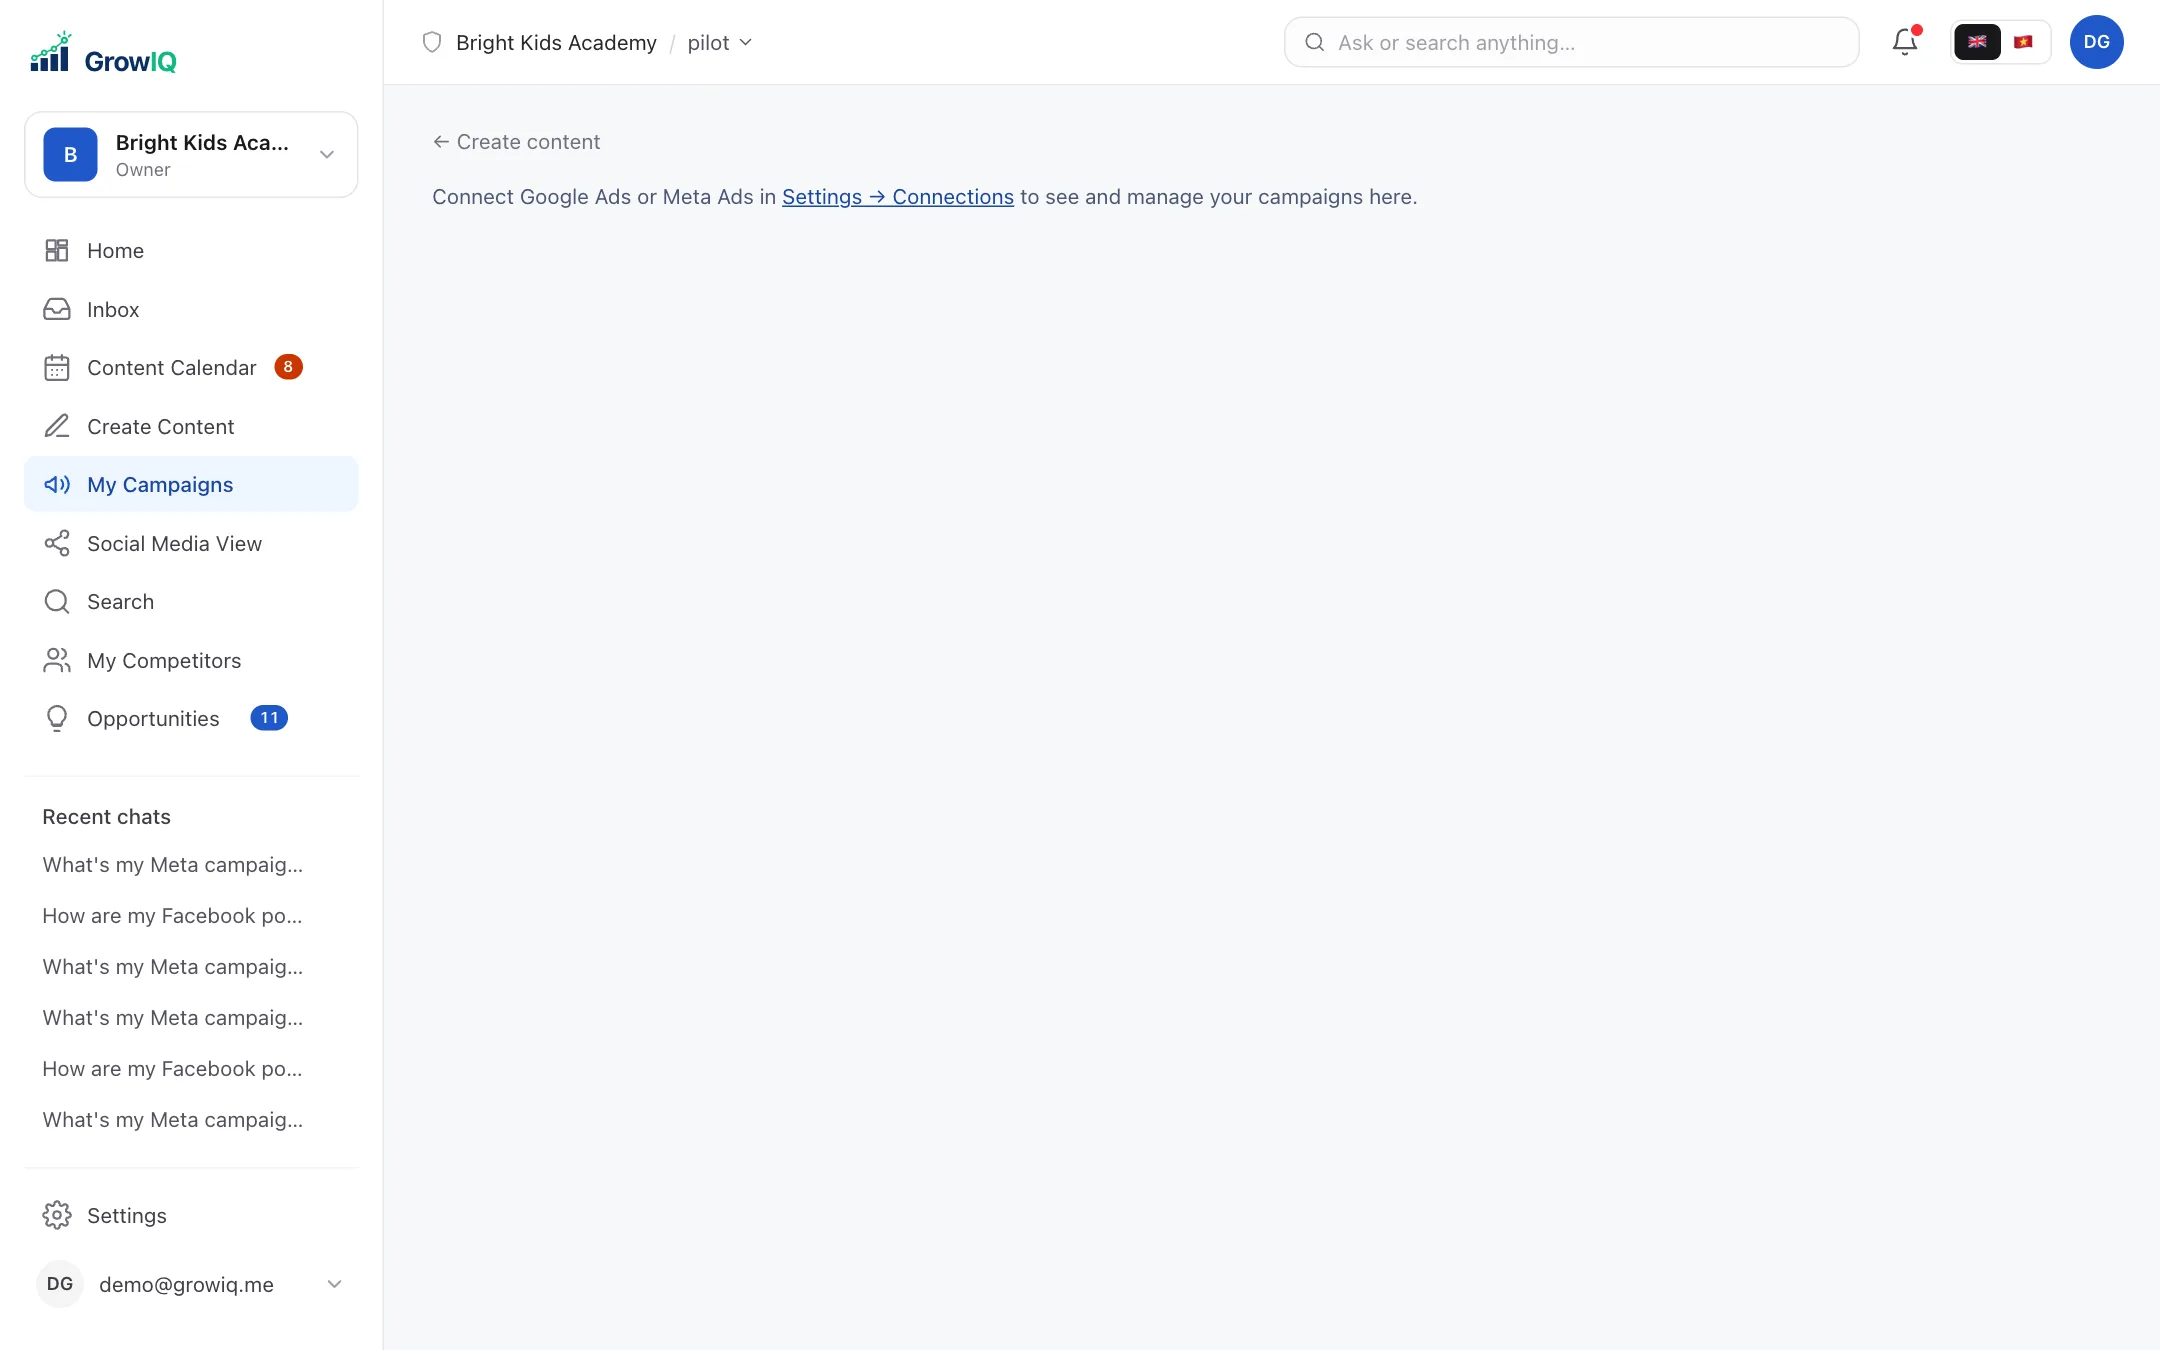
My Campaigns → ✦ Create AI campaign (Facebook & Instagram) or ✦ Google Search campaign. Say what you want and your budget in your own words; GrowIQ picks the right setup, explains why, and writes the ads (Meta) or keywords and ads (Google).
Review everything on one page, tick I approve spending up to … and publish. Tick Create it paused to check it in Ads Manager first.
Your budget is safe
The total budget is also set as the spending limit on the platform. GrowIQ never raises a budget without asking you.
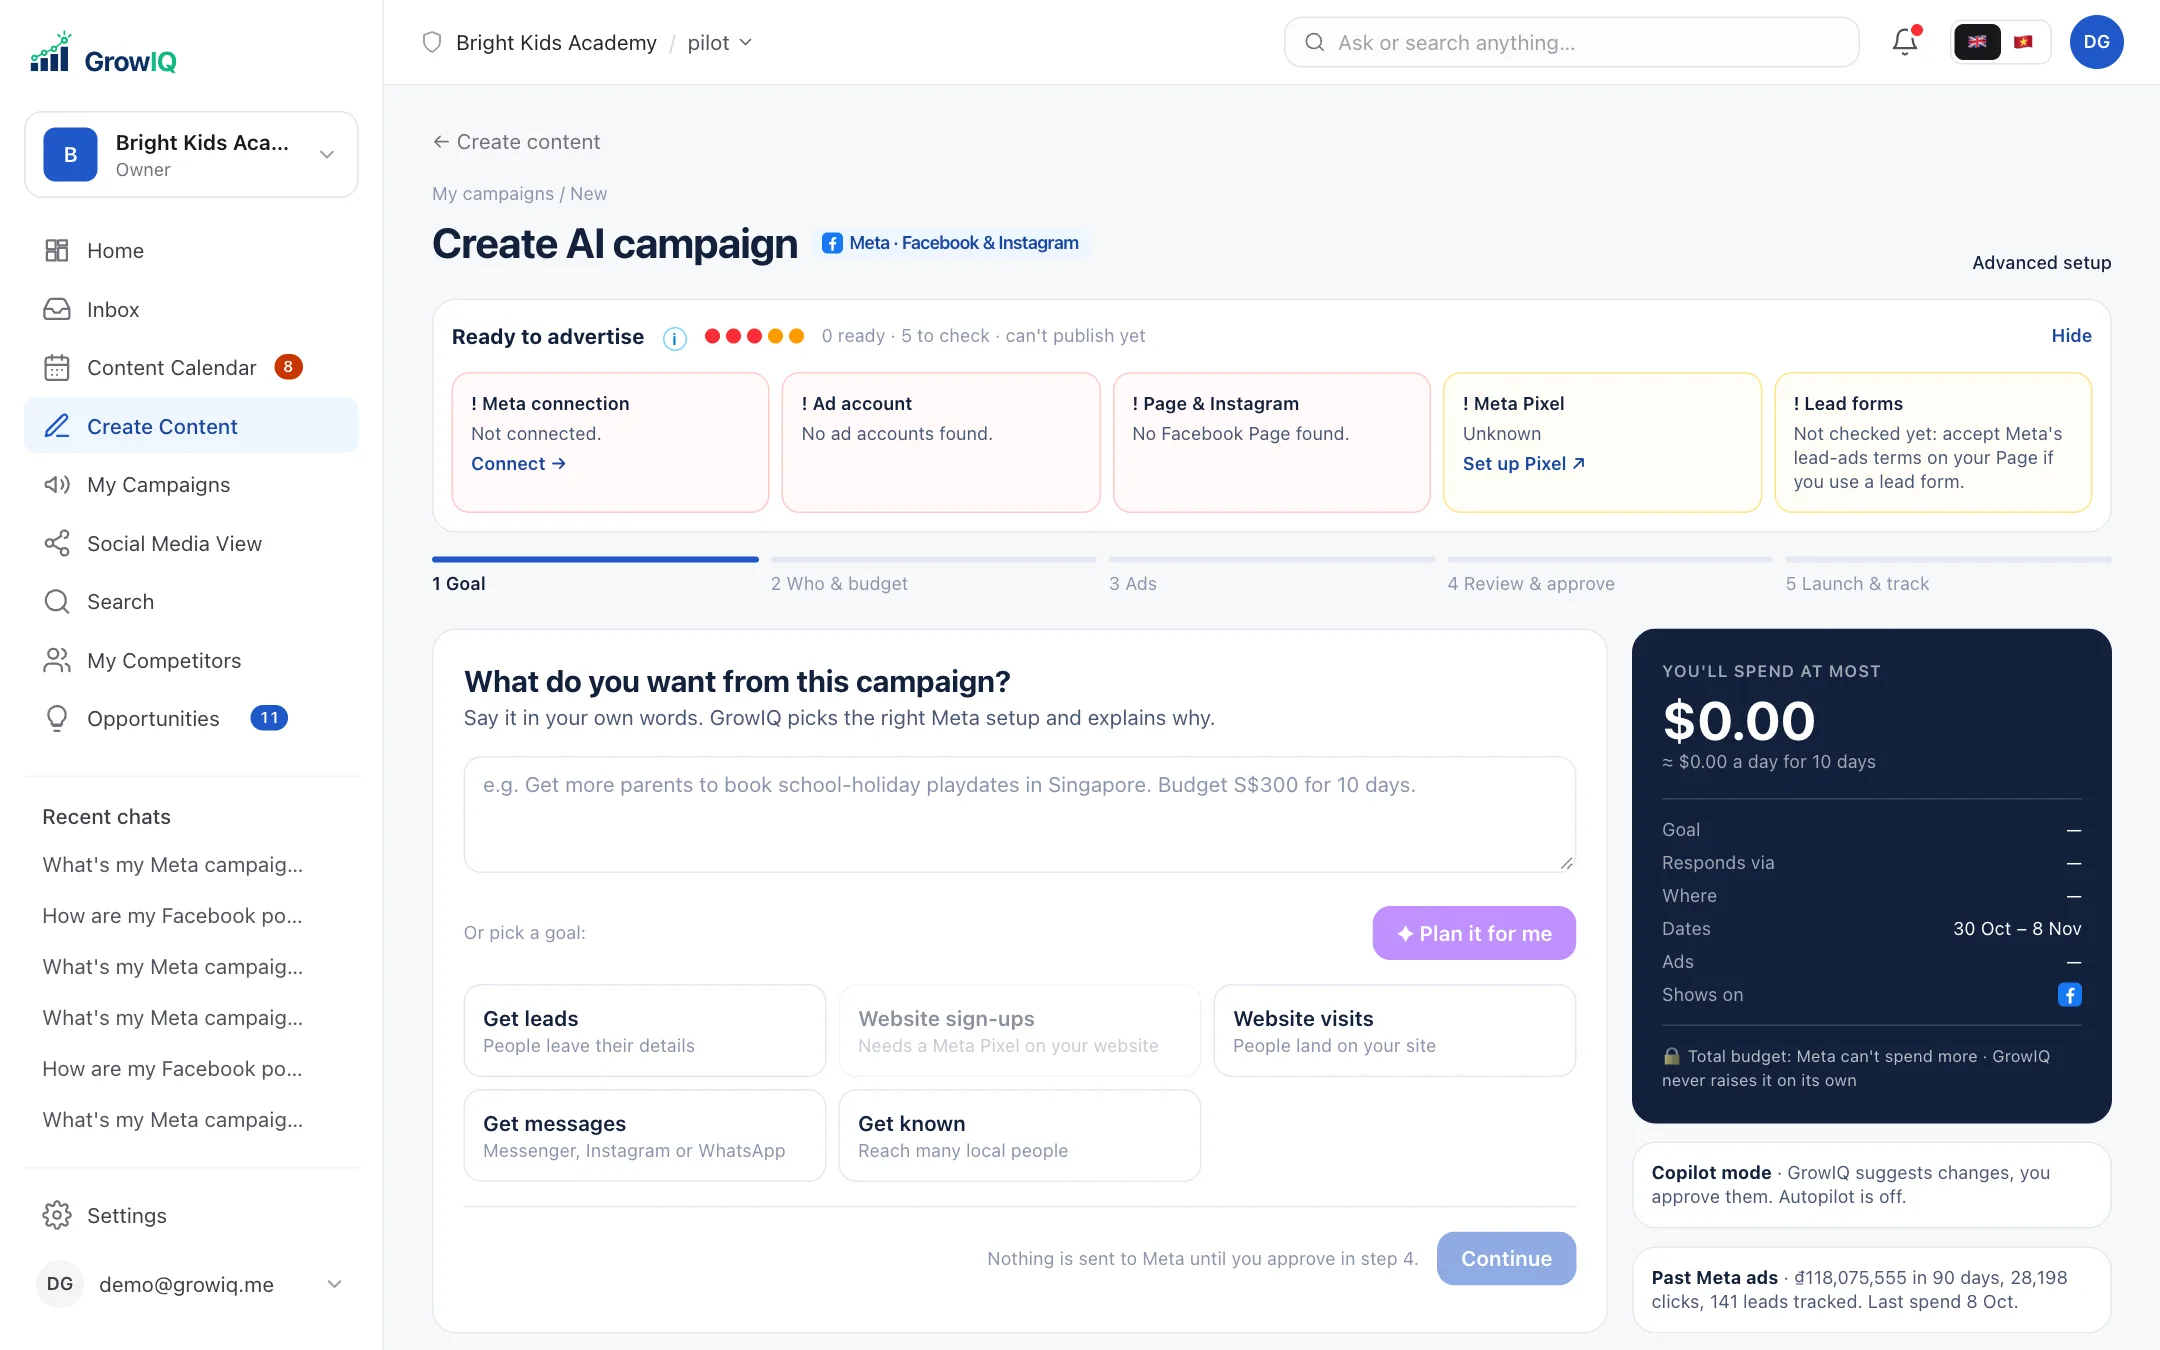
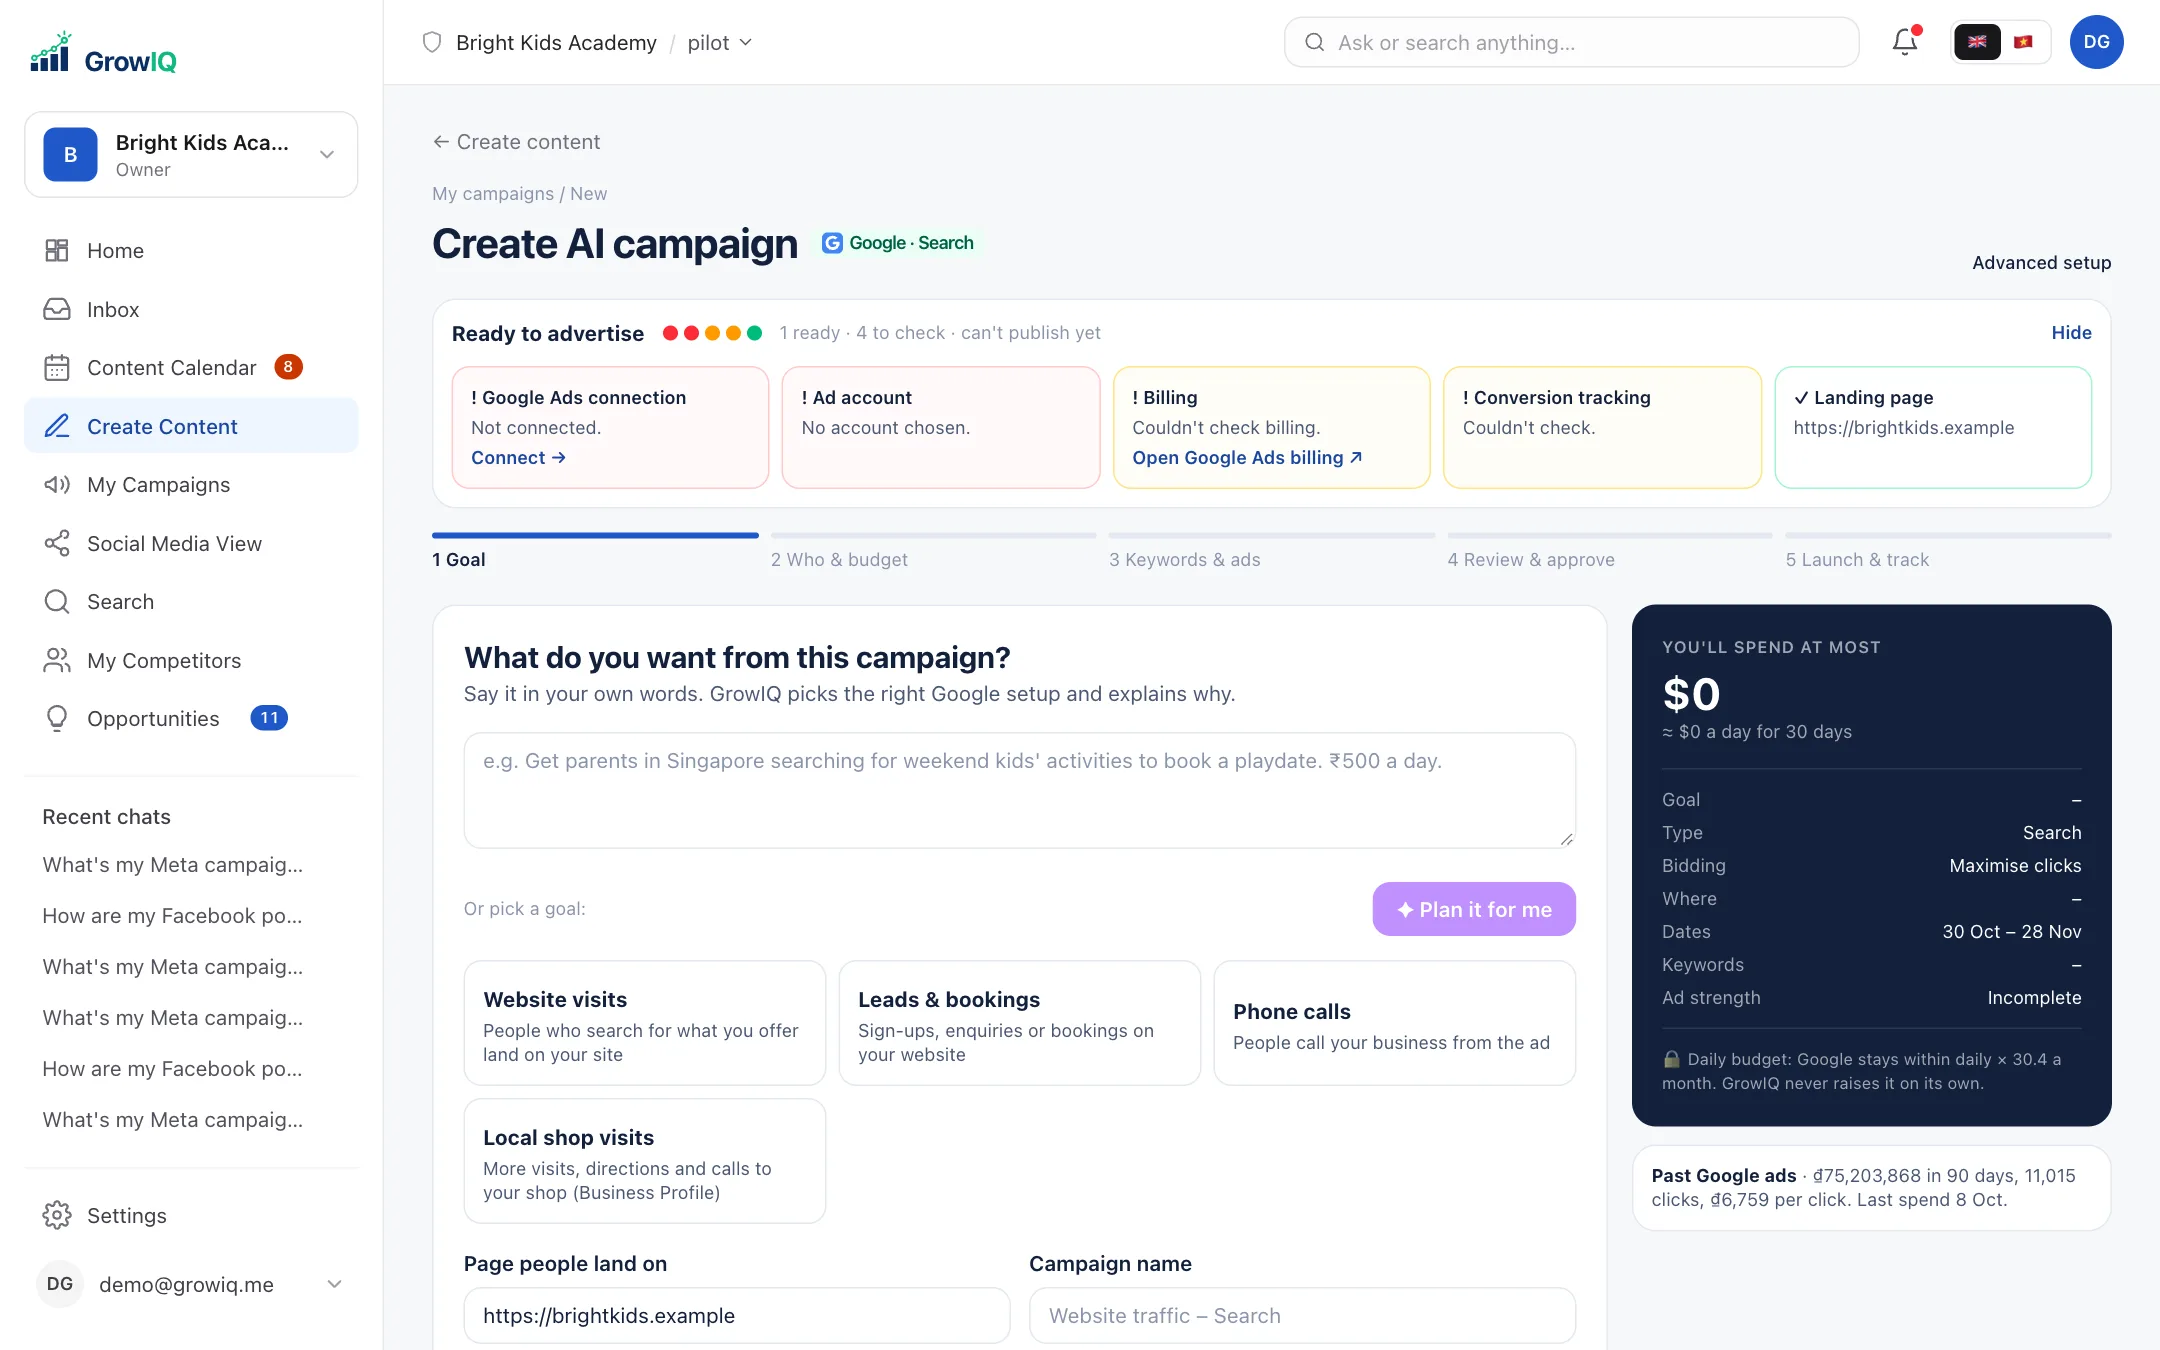
My Campaigns shows spend, clicks and results from each platform, and lets you pause, resume or change budgets.
Step 14
Get found on Google and in AI answers
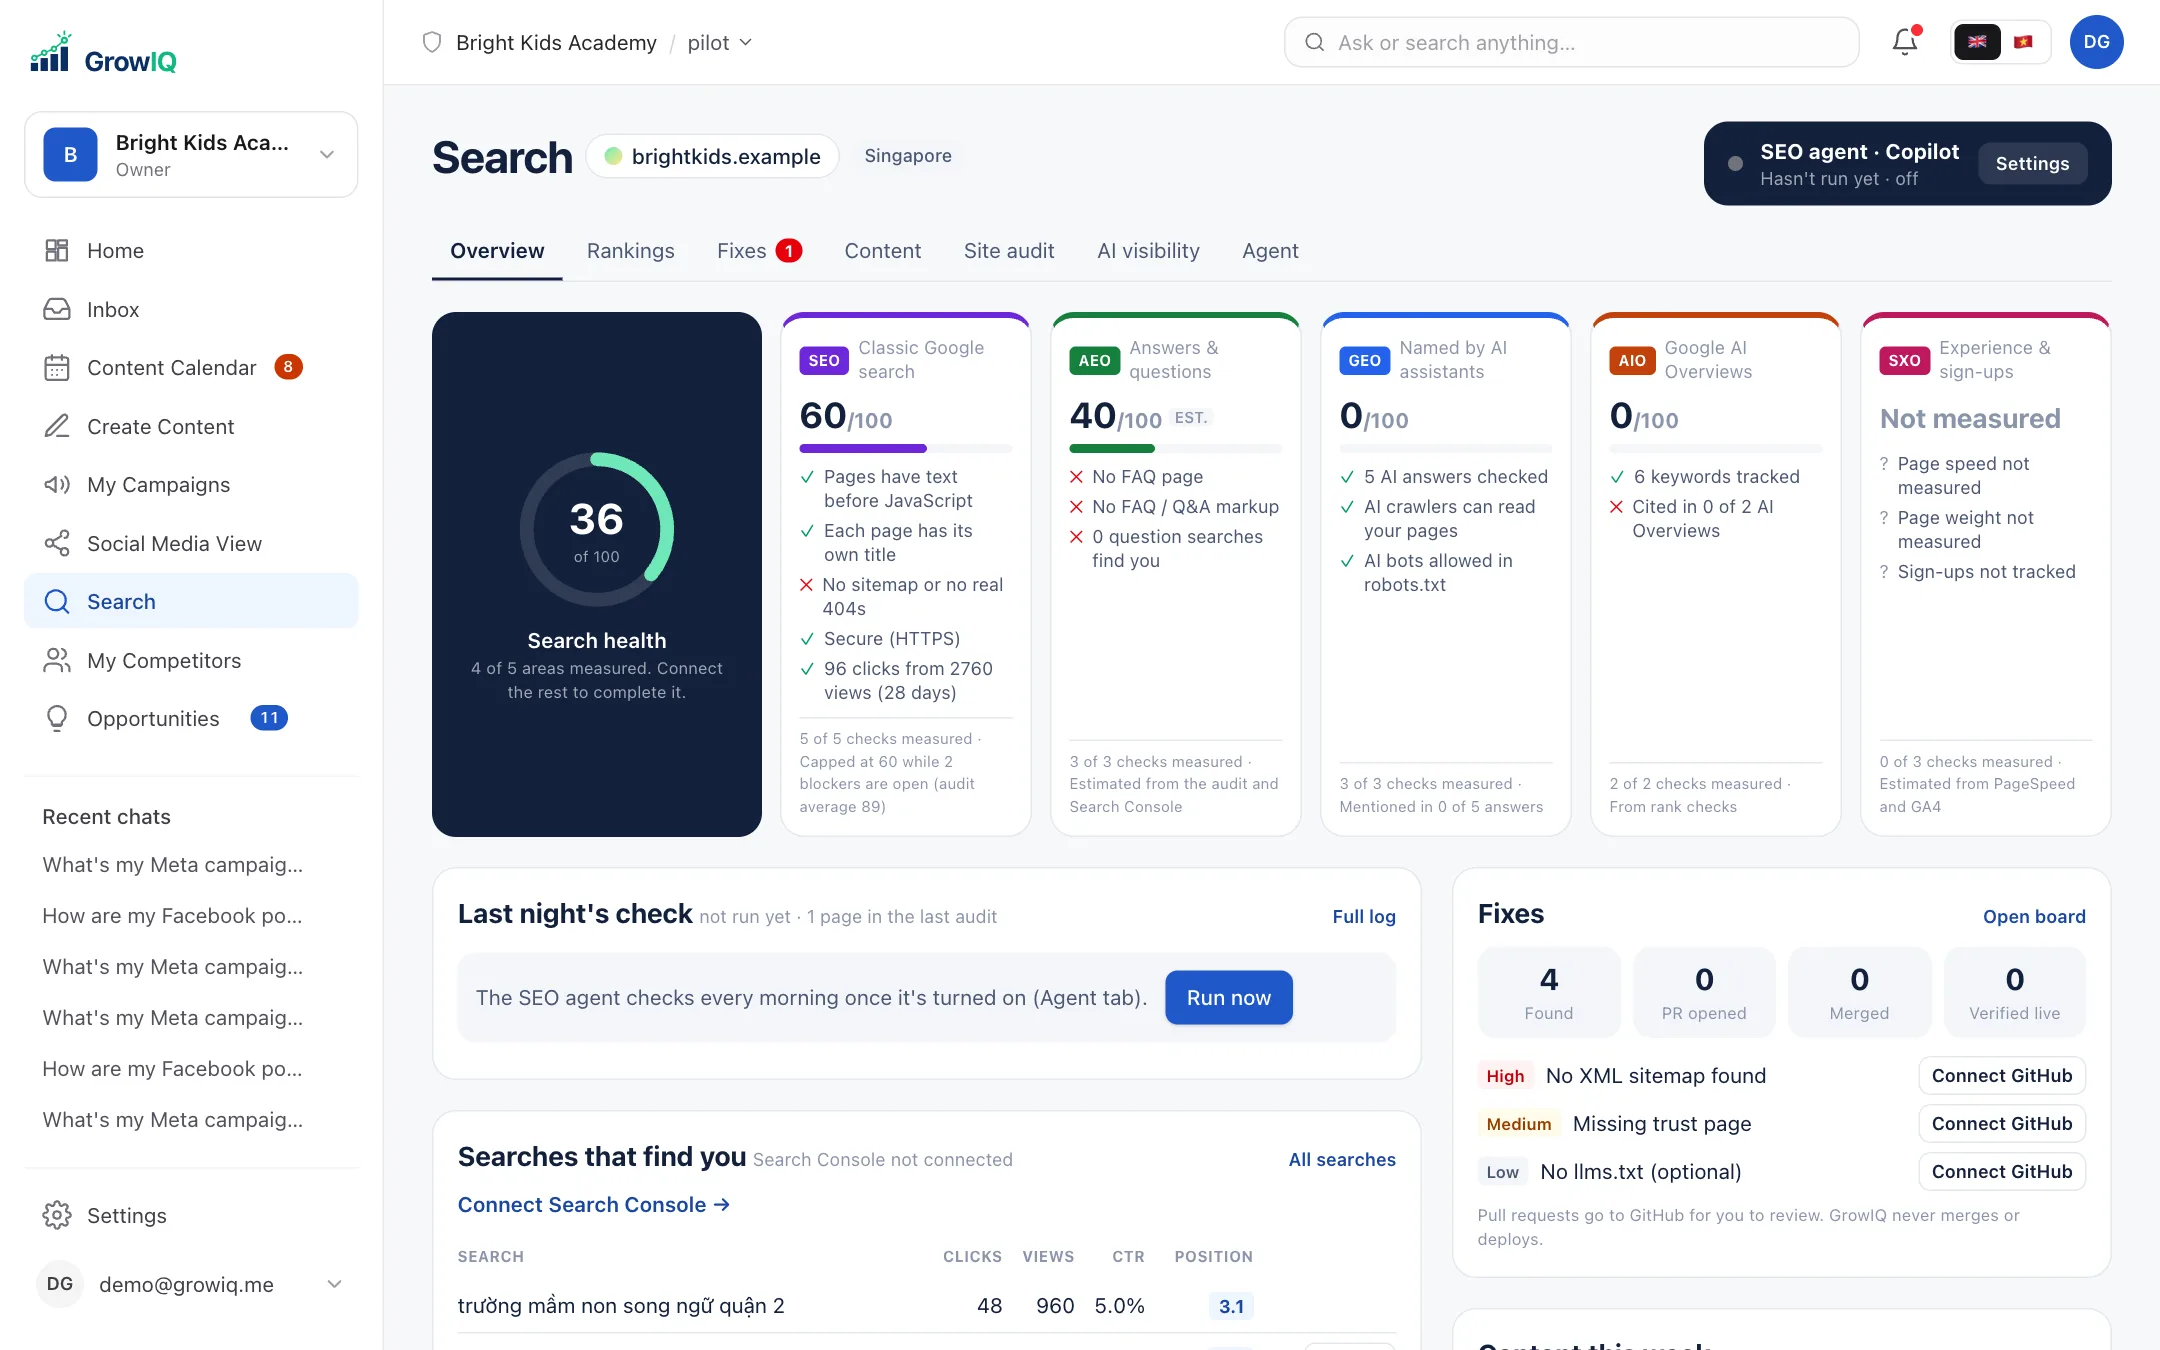
Search shows the Google searches that bring people to you and where you rank, a site audit with a fix for each problem, and whether AI assistants like ChatGPT recommend you.
Step 15
Watch competitors and act on opportunities
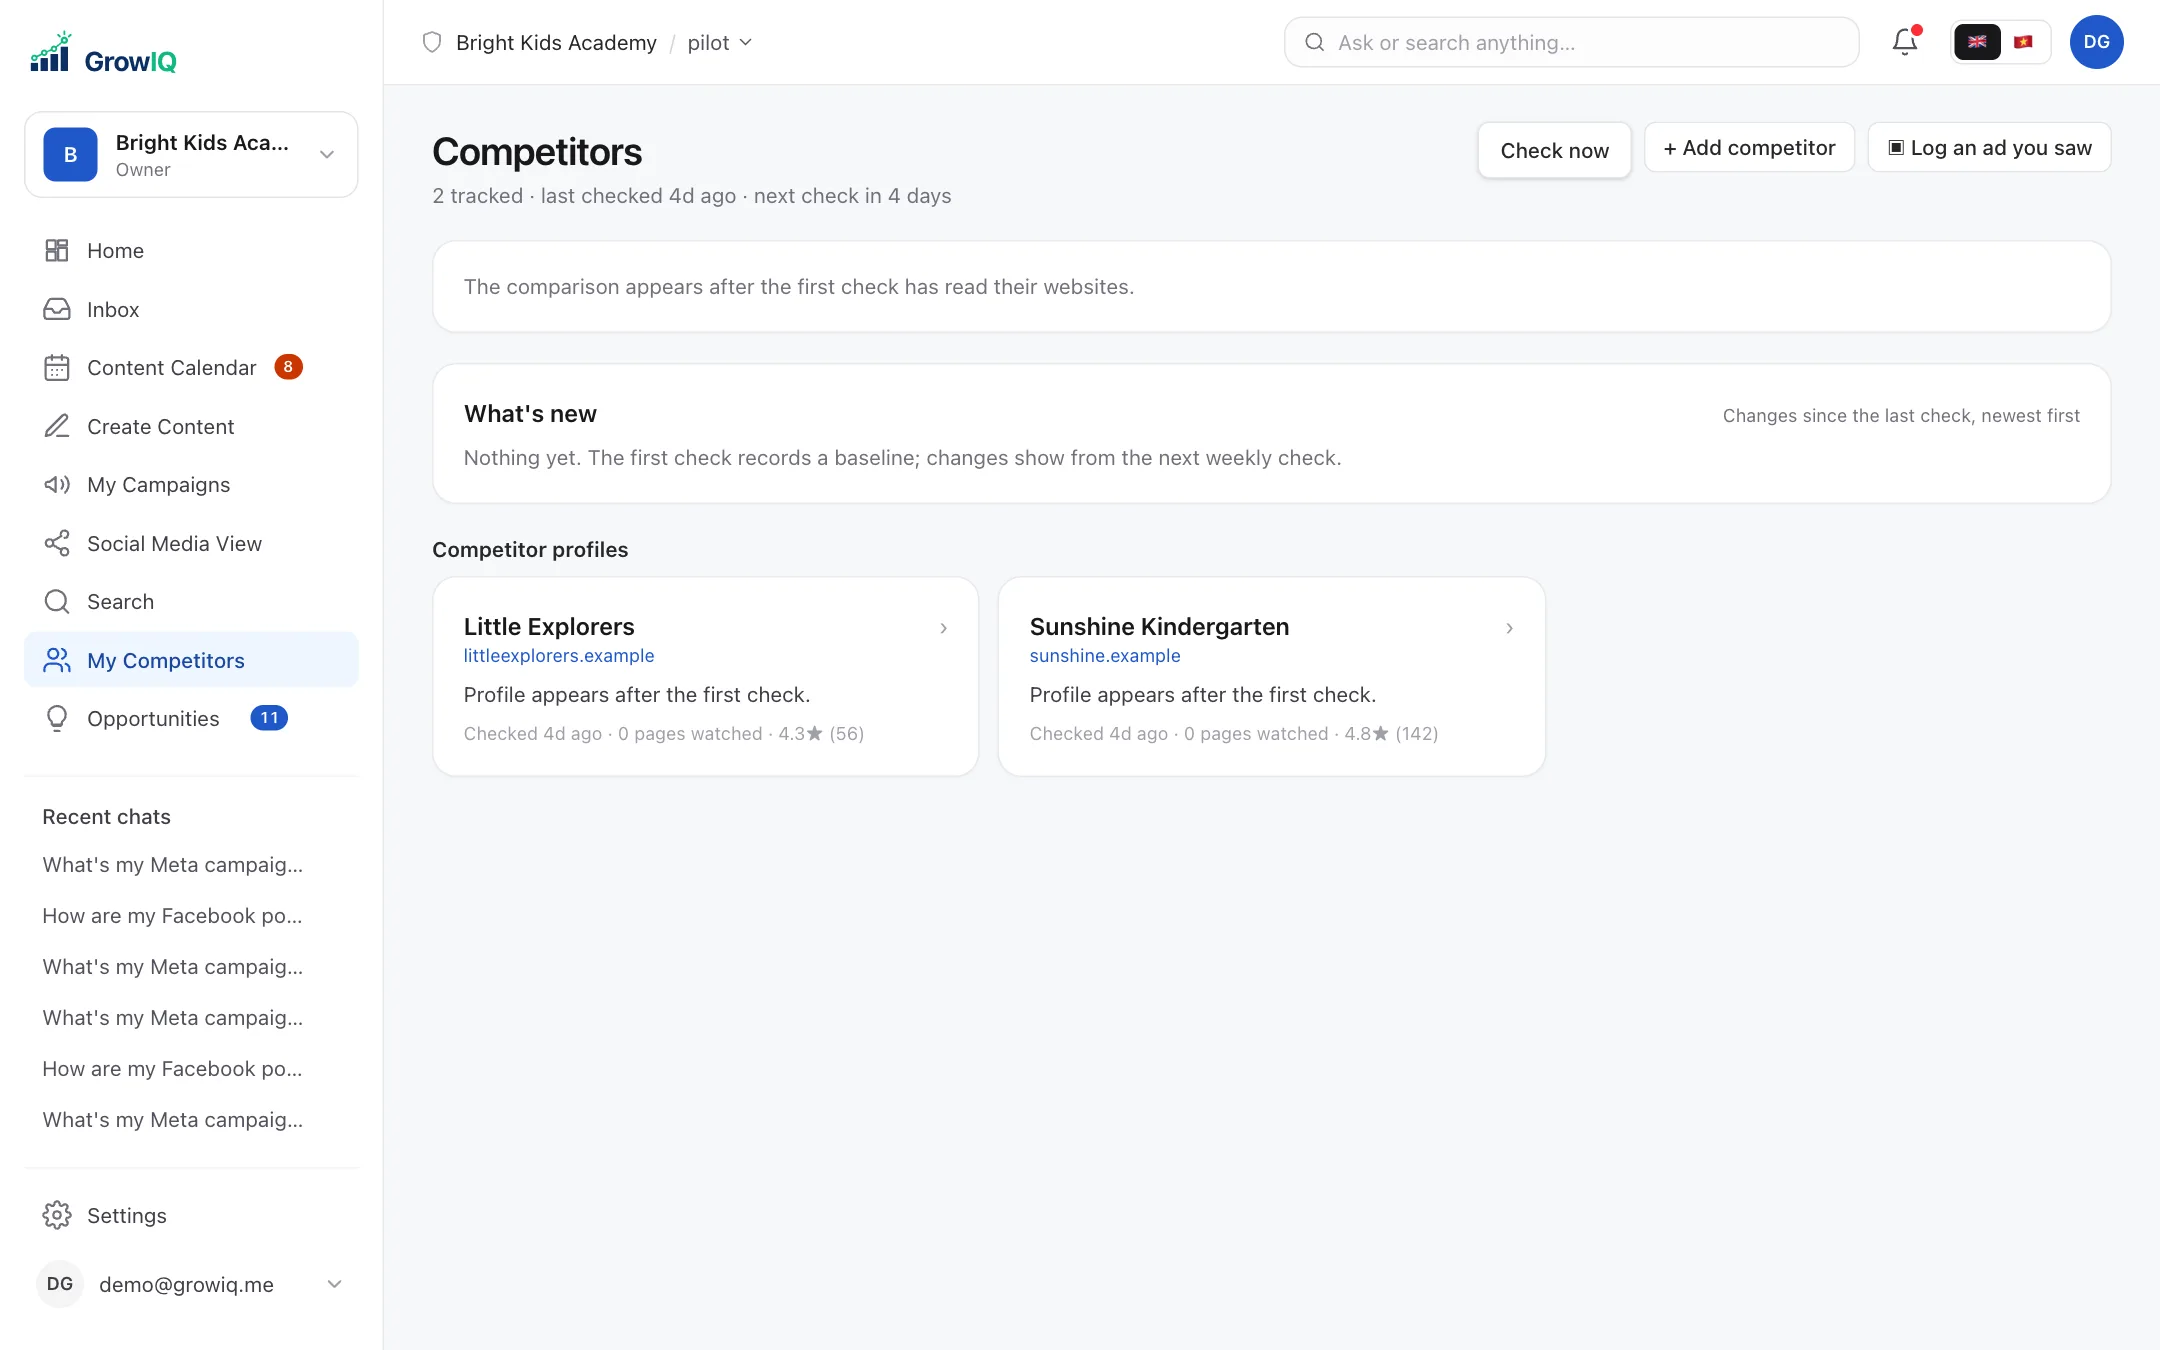
Add your competitors' websites and Pages in My Competitors; GrowIQ checks their offers, posts and ads and tells you what changed.
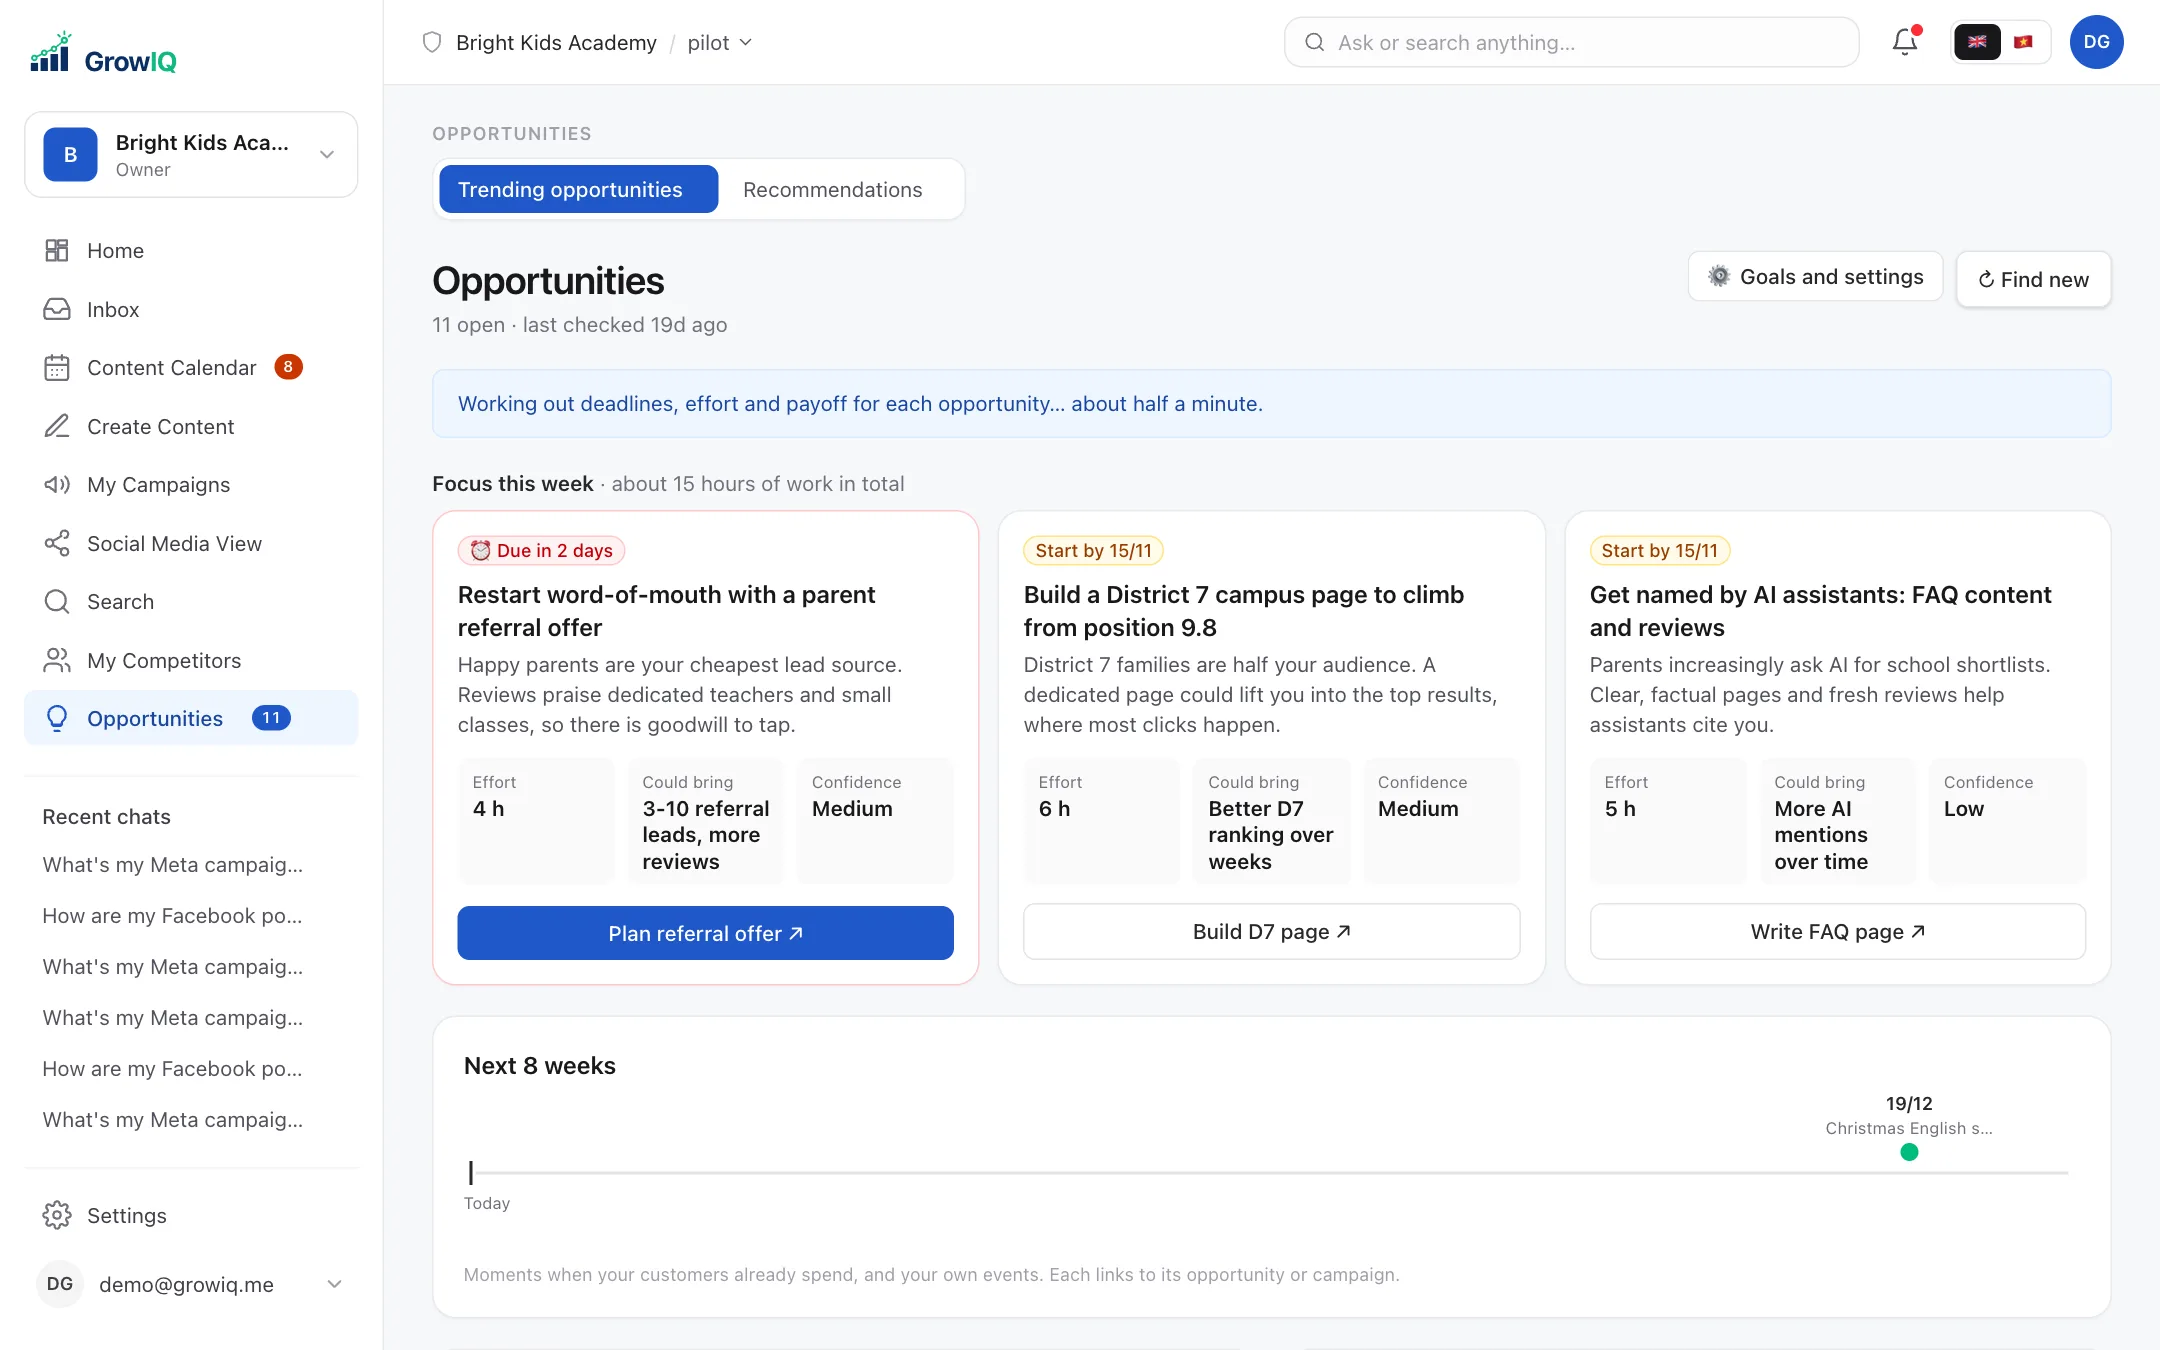
Opportunities lists holidays, trends and searches worth acting on, with the effort, what it could bring and a button to draft the posts.
Step 16
Keep your Brand Library up to date
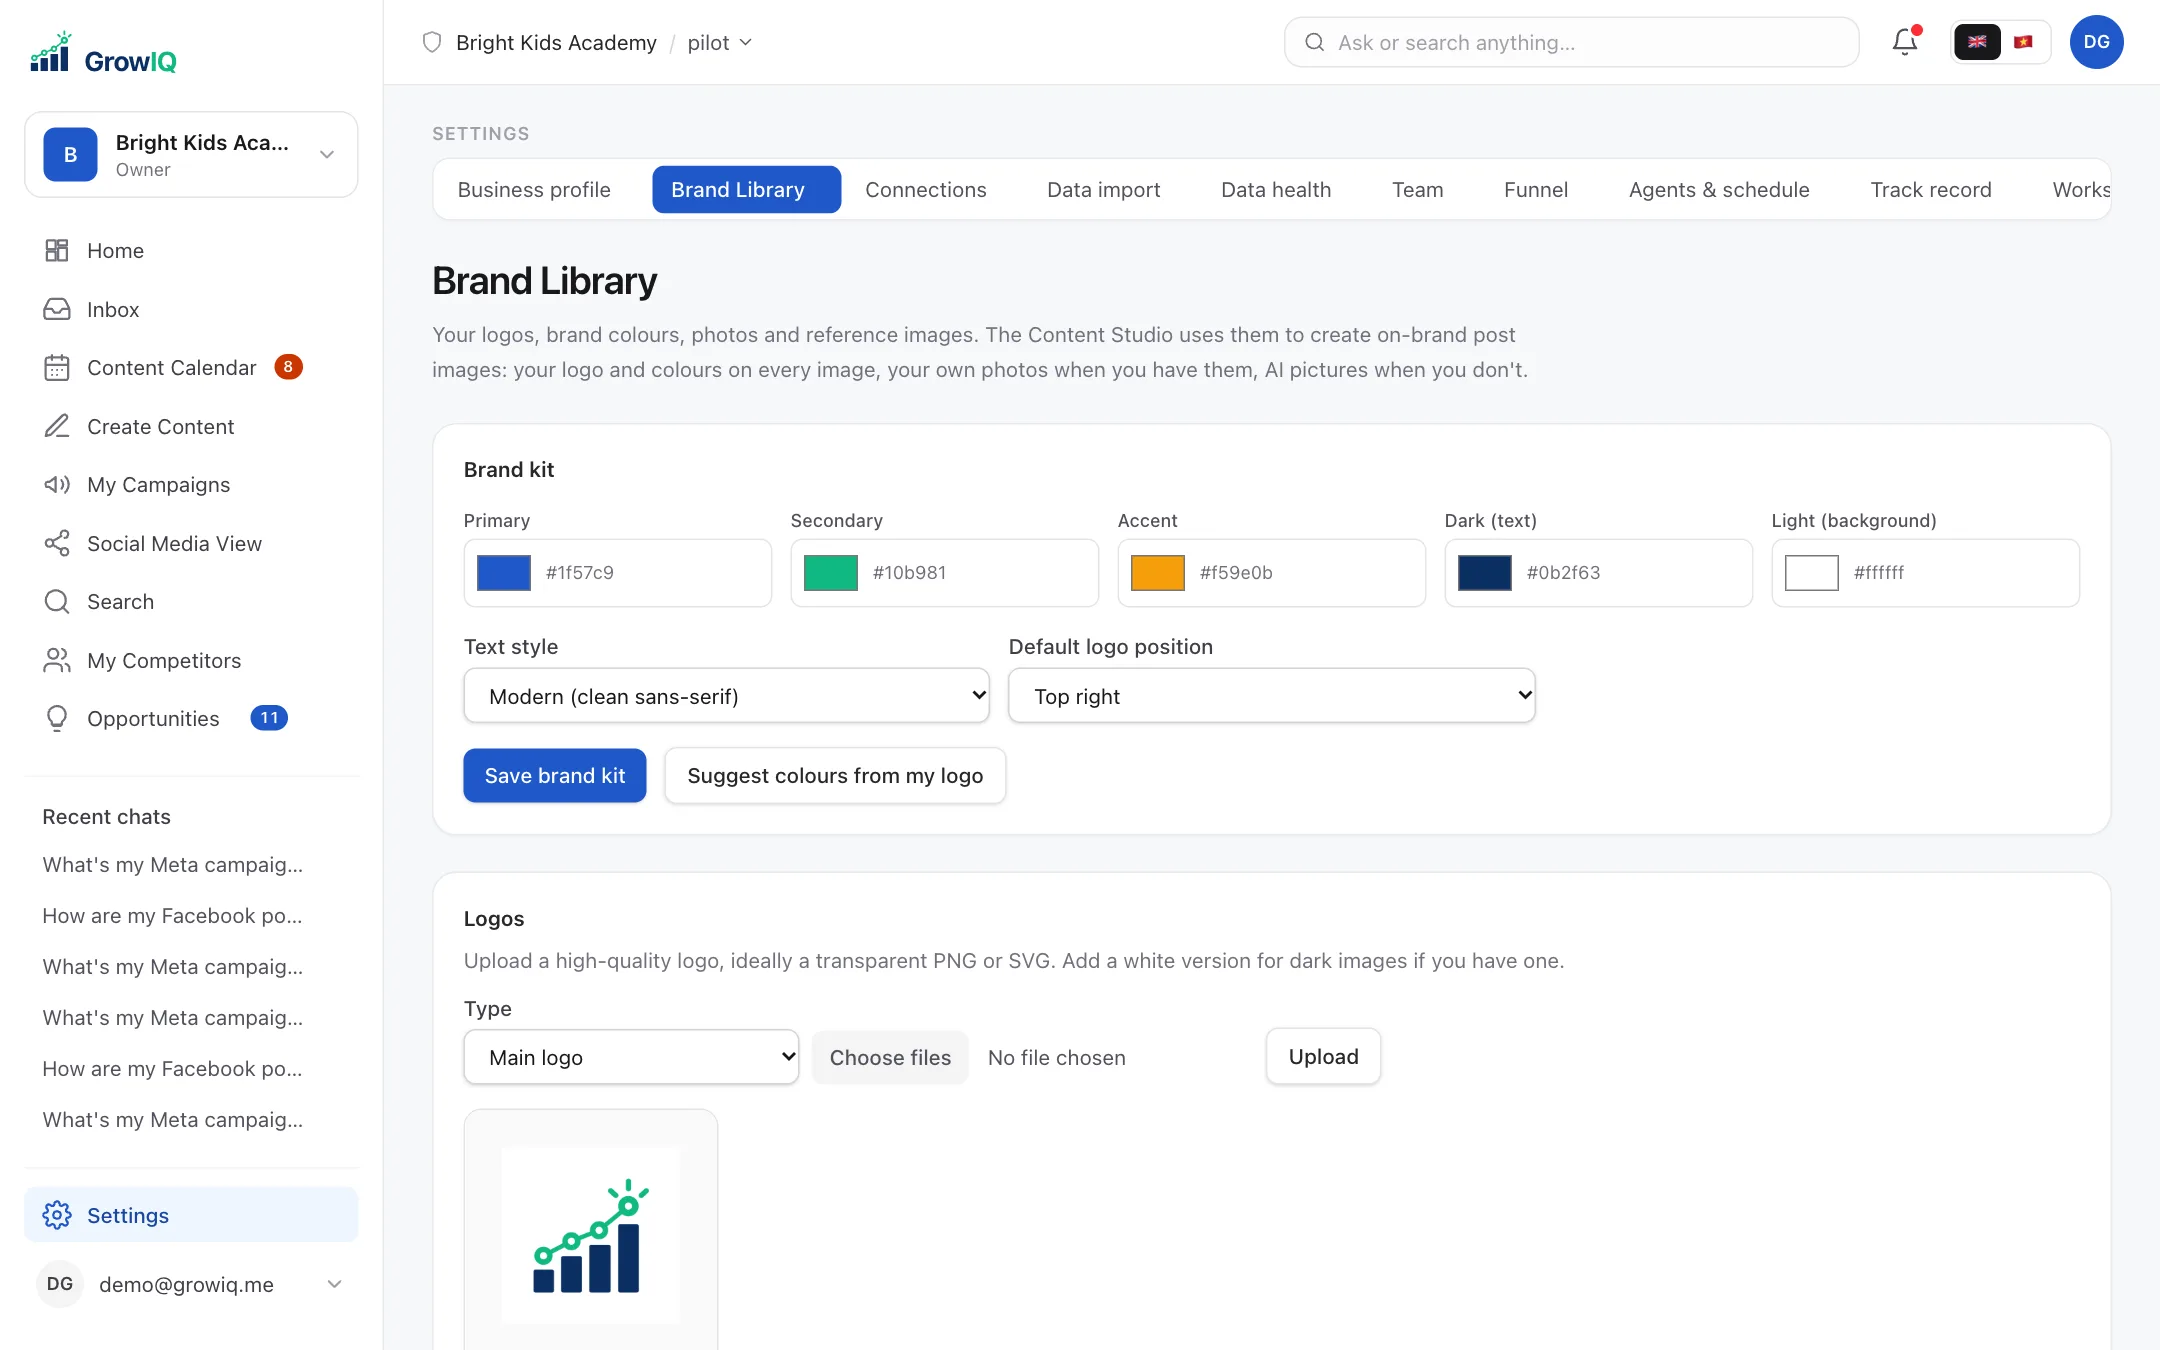
Upload your logo, brand colours and your own photos in Settings → Brand Library. AI images use your logo and colours, and your real photos look better than stock ones. With Canva connected you can edit any image in Canva.
Need help?
Ask GrowIQ: "How do I…?" works for most questions. The ⓘ next to a number explains where it comes from.
Still stuck? Email support@growiq.me with a screenshot.
Step 12
See what's working on social media
Social Media View shows reach, engagement, followers and your best posts for each account, with the next thing to do. What content works compares formats, topics and posting times; Google Business & Maps shows views, calls and reviews.